How to Clean and Descale Coffee Equipment: The Complete Guide
 Tommie Chaney··Updated
Affiliate disclosure: Sweeter Grind is a participant in the Amazon Services LLC Associates Program. We may earn commissions on qualifying purchases at no extra cost to you.
Coffee equipment almost never dies of old age. It gets slowly strangled.
Here's the short version: how to clean and descale a coffee maker is really two jobs on two different clocks. Cleaning removes coffee oils and grounds from the surfaces you can reach, with hot water and detergent, weekly. Descaling dissolves mineral scale from the plumbing you can't reach, with acid, every one to three months. Doing one does not accomplish the other.
That distinction isn't pedantry — it's why so many people descale a filthy brewer and wonder why the coffee still tastes like an ashtray. Rancid oil is a flavor problem; scale is a machine problem. This guide covers both across every piece of gear you're likely to own: drip brewers, pod machines, espresso machines, grinders, kettles, manual brewers. For where each fits in a working setup, our Ultimate Coffee Equipment Guide 2026 is the broader hub.
Cleaning vs. Descaling: Two Different Jobs
Every machine that heats water and passes it through coffee accumulates two unrelated kinds of gunk.
| Cleaning | Descaling | |
|---|---|---|
| Removes | Coffee oils, fines, milk protein, sugars | Calcium and magnesium carbonate scale |
| Chemistry | Detergent / alkaline (dish soap, Cafiza) | Acid (citric, sulfamic, lactic, acetic) |
| Where it builds | Baskets, carafes, shower screens, wands, hoppers | Boiler, heating element, thermoblock, tubing, valves |
| Symptom when ignored | Bitter, rancid, sour-off flavors | Slow flow, weak heat, loud gurgling, error lights |
| Typical cadence | Daily to weekly | Every 1–3 months |
Manufacturers treat these as separate procedures. Breville's instruction book for the Barista Pro (BES878) runs a "FLUSH" cleaning cycle using a cleaning tablet and the supplied cleaning disc, and states outright that "the cleaning cycle is separate from descaling" — a different menu item entirely.
The cleaning half matters more than most people assume. NSF International's household germ study swabbed surfaces in 22 homes and found yeast and mold in 50% of coffee reservoirs and coliform bacteria in 9% — enough to rank the reservoir among the germiest items in the house, ahead of most bathroom surfaces. It is warm, damp, dark, and almost never scrubbed.
Why Scale Forms, and Why Your Water Sets the Schedule
Limescale is mostly calcium carbonate. According to the U.S. Geological Survey, water hardness is caused by dissolved compounds of calcium and magnesium and is reported in milligrams per liter as calcium carbonate, with the standard classification running: 0–60 mg/L soft, 61–120 mg/L moderately hard, 121–180 mg/L hard, and above 180 mg/L very hard.
Those minerals stay dissolved in cold water. Heat changes that, because calcium carbonate has inverse solubility — it gets less soluble as water gets hotter. According to CIBSE Journal's hot-water CPD module, precipitation of calcium carbonate "starts to occur at approximately 35°C to 40°C… and progressively worsens as temperatures rise," and water-treatment references describe deposition climbing sharply once water passes roughly 60°C (140°F). That is why scale lands as a hard, chalky crust on the hottest surfaces — heating elements, boiler walls, thermoblock channels, valve seats. The deposit then insulates the heating element from the water it's supposed to heat.
Breville's own manual describes the consequence in unusually direct language: "After regular use, hard water can cause mineral build up in and on many of the inner functioning components, reducing the brewing flow, brewing temperature, power of the machine, and the taste of the espresso." Four failure modes from one deposit.
Your hardness number is the biggest variable in your maintenance schedule. A brewer on 40 mg/L soft water and an identical brewer on 250 mg/L very hard water are not on the same clock — the second may need descaling three or four times as often. Most utilities publish an annual water quality report with a hardness figure; a pack of aquarium or pool test strips gets you close in thirty seconds.
The obvious move — brew with distilled water — is the wrong one, because extraction needs minerals. The Specialty Coffee Association's water standard is widely published as calling for total hardness in the range of 50–175 ppm as CaCO₃ with alkalinity around 40–75 ppm, which is deliberately not zero. We cover the flavor side in Why Water Quality Matters for Coffee; the maintenance takeaway is that you want moderately soft water, not pure water.
Descaling: Removing the Limescale Inside
Descaling is the same six moves on nearly every machine, whatever the brand-specific menu says.
- Remove the water filter. The step people skip. Breville's manual is explicit: "Ensure that the water filter is removed from the water tank before adding the descaling powder when descaling the machine." A carbon filter neutralizes the acid you just paid for, and the acid wrecks the filter.
- Let the machine cool. Breville instructs owners to switch off and "allow to cool for at least 1 hour" before descaling, drip tray emptied and fully inserted, because hot steam can be released during the cycle.
- Mix to the stated dilution and fill the tank to the DESCALE line, or to full if there's no line.
- Run it through every water path. Not just the brew path — the hot water tap, steam wand, and any milk circuit have their own plumbing. Breville's descale cycle runs three stages for this reason: coffee, hot water, steam.
- Let it dwell. Pausing mid-cycle for 15–20 minutes lets the acid work on the thickest deposits near the heating element. One dwell beats three rushed cycles.
- Rinse ruthlessly. Two to three full tanks of fresh water through every path. Under-rinsing is the most common cause of "my coffee tastes weird after descaling."
How often? Keurig's official descaling page states that "descaling should take place every 3 to 6 months or, for select brewers, when the descale light comes on," and reassures owners that "calcium and scale are non-toxic, but left unattended, they can hinder your brewer's performance." Breville takes the sensor approach instead — the LCD displays a DESCALE alert when a cycle is due, counting your actual usage rather than the calendar.
Automatic drip brewers are the most-neglected category, partly because many have no descale indicator at all. If yours is a simple thermal-carafe machine, put it on the calendar; our roundup of the best automatic drip coffee makers notes which models flag scale for you. This section is the overview — the full step-by-step descaling walkthrough, including model-specific quirks and what to do when a descale light refuses to reset, gets its own article.
Cleaning Your Grinder
Grinders get filthier than anything else in a coffee setup and get cleaned the least, because nothing about them looks dirty from the top. Burrs collect two residues: dry fines that pack into the chute and threads, causing retention and stale carryover, and coffee oils that oxidize into a sticky varnish on the burr faces — fast, on dark roasts.
The good news is that how to clean a burr grinder is a fifteen-minute job with a brush and a screwdriver, not a chemical procedure — you never put water or liquid cleaner inside a grinder. Wet burrs rust, and wet fines set like concrete.
The three-tier routine we recommend:
- Weekly (2 minutes). Brush the exit chute and grounds bin with a stiff-bristled brush. A puff from a hand blower clears the chute without dismantling anything.
- Monthly (10 minutes). Run cleaning tablets. Grinder tablets such as Urnex Grindz are food-safe granules that absorb oils and scrub the burr faces: empty the hopper, grind a dose of tablets at the maker's stated amount, then grind and discard a little coffee to flush residue.
- Quarterly (15 minutes). Remove the top burr and brush both burrs and the chamber. Breville's manual walks the Barista series through it — unlock and empty the hopper, run the grinder empty to clear the chamber, then remove the hopper and top burr and brush burrs and chute. Nearly every home grinder follows the same pattern.
Push the quarterly interval to monthly if you pull espresso daily; fine grinds pack the chamber far harder than drip settings. If your grinder has blades rather than burrs, none of this applies — you have a spice mill, as we lay out in Burr Grinder vs. Blade Grinder. And burrs are consumables: if you have to grind noticeably finer than you did a year ago, the burrs are the problem, not the routine.
Vinegar or Descaling Solution?
Both dissolve calcium carbonate. That's not the interesting part.
The real question in vinegar versus a commercial descaling solution is what else each one does on the way through your machine: how it treats elastomer seals, how much of it stays behind, and whether it puts your warranty at risk.
On effectiveness. Commercial descalers are usually acid blends, and there's laboratory support for that. A 2025 study in Scientific Contributions Oil and Gas tested three sulfamic:citric:acetic blends against hydrochloric acid controls on carbonate scale and found the highest scale solubility — 65.79% at 50°C — at the 9:3:3 ratio, edging out the 5% HCl control at 63.49%. That matches what's in the bottle: according to Urnex product documentation, Dezcal is a phosphate-free descaler built on citric and sulfamic acid.
On residue and odor. Acetic acid is volatile and clings. Citric and sulfamic acid rinse out with far less effort. Anyone who has drunk the first two cups after a vinegar descale knows this failure mode.
On seals. Vinegar's strength isn't standardized: household white vinegar is typically about 5% acetic acid, while bottles sold as "cleaning vinegar" run 6% or higher. Espresso service guidance widely warns that repeated or prolonged contact with acetic acid can swell, crack, or embrittle the rubber gaskets and O-rings that keep a machine watertight — and House Digest's coverage of Keurig descaling notes that if a DIY solution damages the appliance, that can void the warranty.
On warranties. This is where the manufacturers get specific, and it varies:
| Brand | Published position |
|---|---|
| Keurig | Its descaling page recommends Keurig's own Descaling Solution and offers no vinegar option; Keurig's limited warranty excludes damage from limescale build-up and from unapproved accessories |
| Breville | Manuals specify "the descaling agent" with the machine's built-in descale program; Breville sells its own branded Descaler for the purpose |
| Jura | Jura's position is that only original JURA descaling tablets should be used; per Jura service guidance, damage from limescale or from neglected or non-approved descaling is excluded from warranty cover |
Our position: on an in-warranty machine, use the descaler the manufacturer names — the annual cost difference is trivial next to arguing with a service department. On an out-of-warranty drip brewer with simple plumbing and no aluminum, diluted white vinegar with a genuinely thorough rinse is defensible. On anything with a pump, a boiler, and a solenoid valve, it is not the trade we'd make. Check your manufacturer's manual before you pour anything acidic into a machine — the manual is the only source that knows what your seals are made of.
How Often to Clean Each Piece
The table below is our default schedule for a household brewing one to three times a day. It assumes moderately hard water; how often you should descale shifts up or down from there with your hardness number — roughly halve the interval above 180 mg/L, and you can stretch it below 60 mg/L.
| Equipment | Daily | Weekly | Monthly | Every 3 months |
|---|---|---|---|---|
| Drip brewer | Rinse carafe and basket | Wash basket, carafe, lid; wipe reservoir | — | Descale |
| Pod brewer | Empty pod bin, wipe drip tray | Wash reservoir; clear the exit needle | — | Descale (or on the light) |
| Espresso machine | Wipe group and screen; rinse portafilter; purge and wipe wand | Water backflush; soak baskets | Detergent backflush; clean screen and gasket | Descale (water dependent) |
| Grinder | — | Brush chute and bin | Cleaning tablets | Remove and brush burrs |
| Kettle | Empty after use | — | Descale if variable-temp | Descale |
| French press | Full disassembly and wash | Deep-clean the filter stack | — | — |
| AeroPress | Rinse plunger, cap, seal | Wash the seal separately | — | — |
| Pour-over cone | Rinse | Soap wash; check for oil film | Soak in cleaner | — |
| Cold brew rig | Wash after every batch | — | — | — |
| Milk system (auto) | Run the rinse cycle | Detergent clean of lines | Disassemble and soak | — |
Two notes. "Daily" for espresso is not aspirational — coffee oil left on a hot group gasket goes rancid and hardens fast, and after a week it generally takes a detergent rather than a rinse. And if a machine has a descale indicator, trust it over the calendar: it counts cycles, you guess.
Espresso Machine Maintenance
Espresso is the highest-maintenance category by a wide margin: high pressure, high heat, and finely ground coffee force oils into places gravity brewing never reaches. What follows is the shape of it; backflushing and the full espresso maintenance schedule get a dedicated article of their own.
Backflushing forces water backward through the group head using a blind (unperforated) basket, flushing coffee oils out of the three-way solenoid valve and the group's internal passages. Two hard prerequisites: a three-way solenoid valve, and a blind basket or rubber blanking disc. Most entry-level single-boiler machines with pressurized baskets cannot be backflushed — forcing it spikes pressure into places it shouldn't go. Check the manual.
For machines that can, La Marzocco's guidance is specific: put "about half a teaspoon of espresso machine cleaner" in the backflush disc, run "at least three cycles of on and off," keep the dispersion screen installed (removing it risks pulling undissolved cleaner into the group head), then follow with a water-only cycle and finally run the brew cycle with the portafilter removed. La Marzocco also pushes back on the folklore that detergent harms a machine: a group head is not a seasoned cast iron pan.
On cadence, Clive Coffee's guidance is a water backflush "on any day the machine is used" (weekly is fine), and a detergent backflush about once every other week — except on E61 group heads, where they recommend once every one or two months. If you run an E61, don't do it more often: the longer interval is there to spare the seals.
The rest of the espresso routine:
- Portafilter and baskets get rinsed under hot water immediately after every shot. Breville's fix for blocked basket holes: dissolve a cleaning tablet in hot water, soak basket and portafilter about 20 minutes, rinse thoroughly.
- Group gasket and shower screen get wiped after use and unscrewed for a proper clean monthly. A screen that looks bronze rather than steel is overdue.
- Never leave a portafilter locked into a hot group between sessions — it bakes gasket and residue together.
If you want the whole espresso picture rather than the maintenance slice, start with The Complete Home Espresso Guide (2026).
Cleaning Manual Brewers
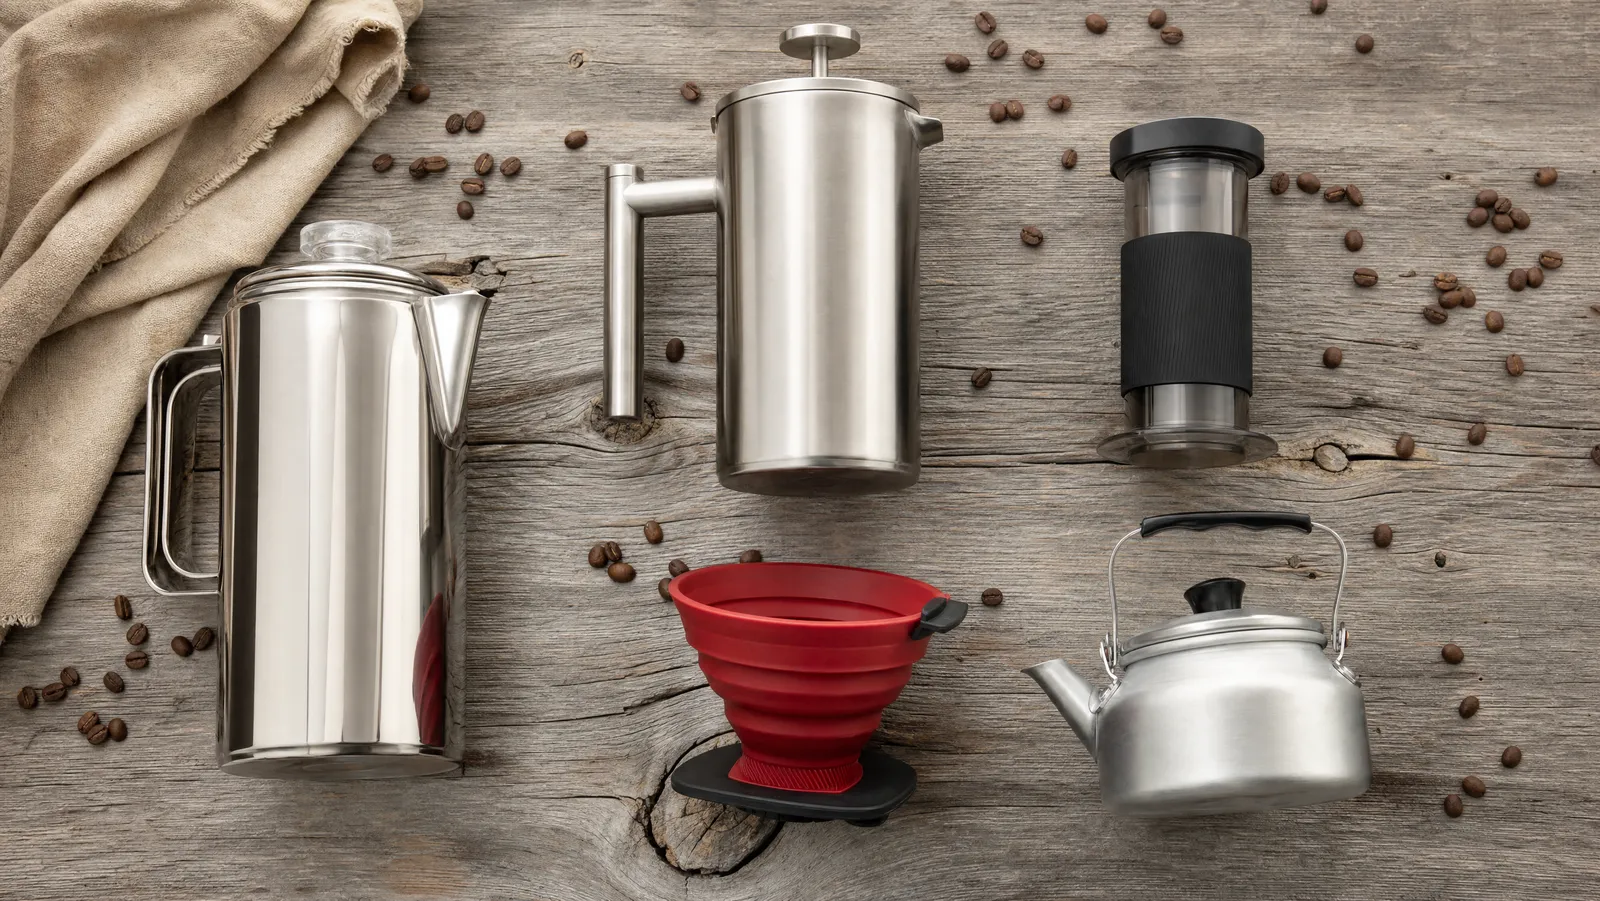
No pumps, no boilers, no scale — cleaning a French press, AeroPress, and pour-over gear is a matter of disassembly discipline. Each of these has a part people never take apart, and that part is where the rancid oil lives.
French press. The plunger is a three- or four-piece stack: rod, cross plate, mesh screen, spiral plate. Unscrew it after every use and wash the pieces individually. A press cleaned only by rinsing the carafe tastes stale within a week no matter how good the beans are — see How to Make French Press Coffee for the brewing side.
AeroPress. The plunger's rubber seal is the whole ballgame. Pop it out and wash both faces; oil accumulates in the groove and the seal stiffens over time. A hardened seal that no longer glides is a replacement part, not a cleaning problem.
Pour-over cones. V60s and Chemex carafes develop a brown film that soap alone won't shift; a periodic soak in a coffee-equipment detergent resets them. Don't use abrasives on glass or ceramic — scratches hold oil better than a smooth surface does.
Moka pots. These have the strictest rules, and they're manufacturer rules. According to Bialetti's care guidance, aluminum moka pots should be rinsed with warm water only — no soap or detergent, which can affect taste and damage the aluminum — and an aluminum pot should never go in the dishwasher, where it oxidizes. Replace the rubber gasket and check the safety valve periodically; a blocked safety valve on a pressure vessel is not cosmetic. Bialetti's stainless steel models are dishwasher safe, though it still recommends handwashing. Our moka pot brewing guide covers technique.
Cold brew rigs. Wash after every batch. Cold brew steeps at room temperature for 12–24 hours, and a vessel with old residue inoculates the next batch.
Steam Wands and Milk Systems
Milk is protein, fat, and sugar hitting a hot metal surface. Doing it right costs almost nothing: cleaning a steam wand properly takes about fifteen seconds, and skipping it for a day creates a twenty-minute job.
The routine is purge, wipe, purge: a one-second burst into the drip tray to clear milk drawn back into the tip, an immediate wipe with a cloth kept exclusively for milk, then another purge. The word doing the work is immediately — proteins and sugars begin baking onto a hot wand within seconds.
How badly this gets done in practice is worth knowing. In 2024, Lancaster City Council's food safety team visited 21 local businesses and asked each to prepare its coffee machine to serve an allergen-free coffee. According to the council's published guidance, 19 of the 21 failed — allergens were still detectable on the steam wands after staff had cleaned them. The same document flags a mistake that sounds sensible and isn't: "Sanitiser wipes kill microorganisms, they do not destroy allergen proteins." A sanitizing wipe does not clean a wand.
The council's procedure is the most rigorous published version we've seen, and a good template for a deep clean at home:
- Wipe the wand with a disposable paper cloth to remove visible residue.
- Purge to clear milk from the tip.
- Wash the wand in hot soapy water with a clean cloth.
- Leave it wet with soapy water for at least 20 seconds to lift stubborn proteins.
- Purge into the soapy water — this cleans the inside of the tip, which wiping never touches.
- Rinse in clean water and purge again to clear soap residue.
- Wipe dry with a fresh cloth.
For a wand that's already crusted, unscrew the tip (most come off with the supplied spanner tool) and soak it in hot water; Breville's manual recommends exactly this, then using the provided steam wand cleaning tool to clear the tip opening. A milk-system detergent such as Urnex Rinza is the right chemical for the soak — dish soap won't dissolve baked protein.
Automatic milk systems on super-automatics are a different risk profile entirely, because milk sits in tubing you can't see — the worst-case scenario in the whole category. Run the built-in rinse cycle after every milk session, a detergent clean weekly, and a disassemble-and-soak monthly.
Once the wand is clean, the technique side lives in How to Steam Milk Like a Barista.
Making Your Own Descaler
If your machine is out of warranty and its manual doesn't forbid it, a DIY citric acid descaling solution is the cheapest good option available — food-grade citric acid powder sells by the pound for a fraction of the per-descale cost of single-use sachets, and it's the same primary acid used in many commercial products.
Home guides land in a consistent range for dilution: Mikael Jasin's Breville descaling guide, for example, specifies "8-12g (roughly 1-2 tablespoons) per 1 liter of water." Start near 1 tablespoon per liter for routine maintenance and reserve the stronger mix for a visibly scaled machine.
Three rules if you go this route:
- Dissolve it completely before it goes in the tank. Undissolved granules can lodge in valves and screens.
- Rinse harder than you think you need to — two or three full tanks, through every path the solution touched.
- Don't improvise on a warranty machine. Jura and Keurig both name approved products.
What we would not do is stack acids. Citric acid alone is a competent descaler, and while blended commercial formulas may do somewhat better, that margin isn't worth home chemistry.
What to Buy
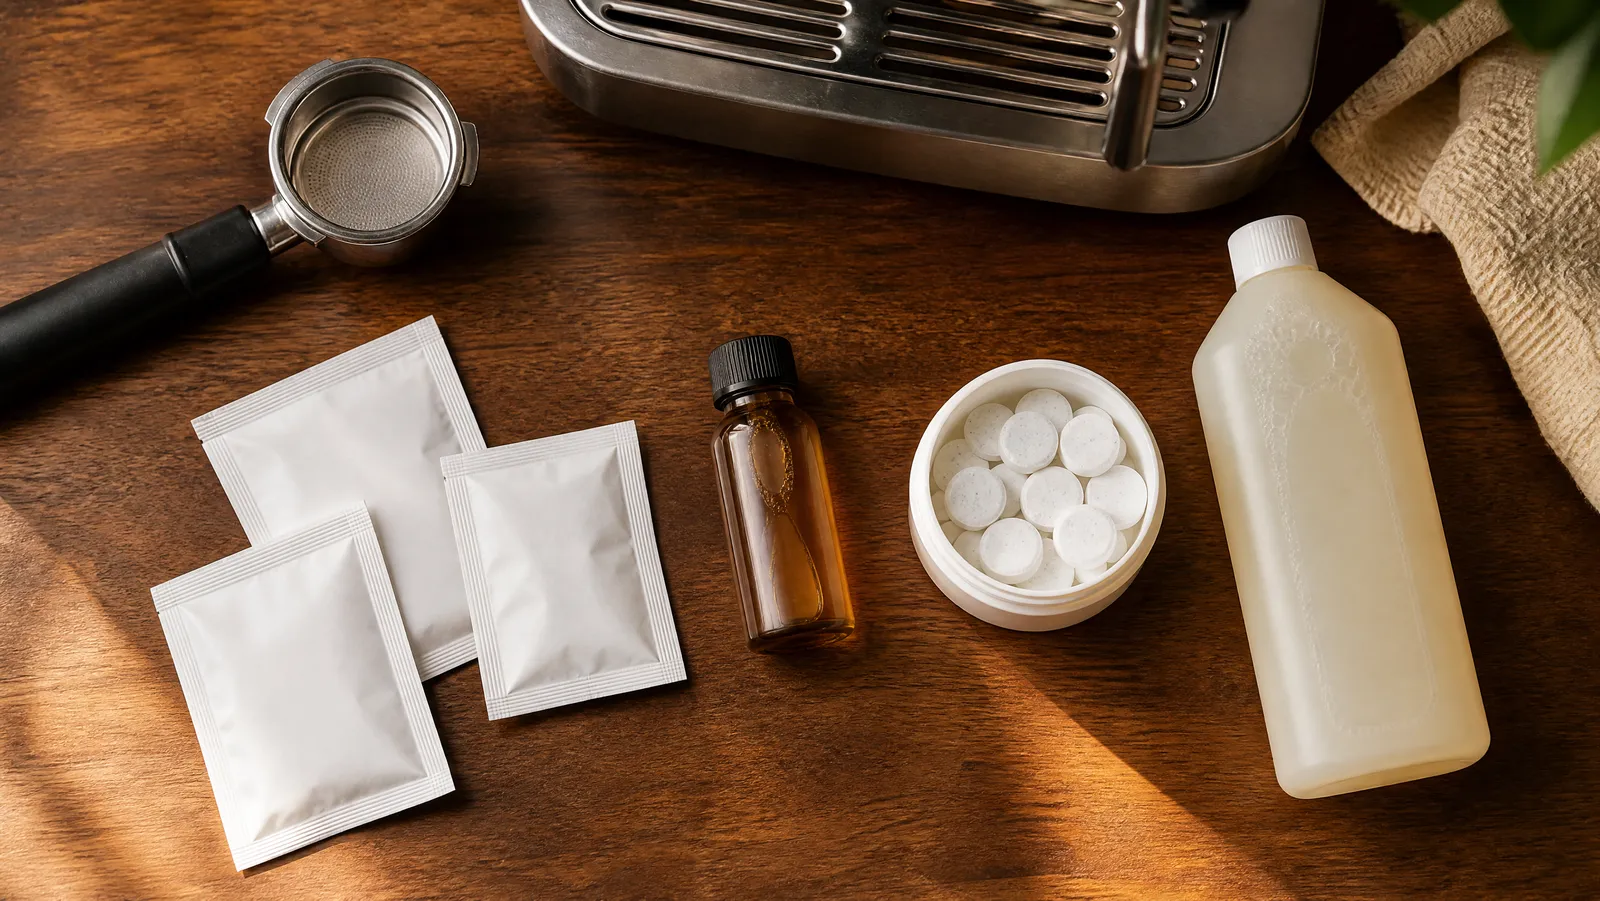
There is nothing glamorous in this aisle: the best coffee machine cleaners and descalers are boring, cheap, and bought in bulk. Four categories, one product each, covering almost every machine in a home kitchen.
| Job | What to look for | Common examples |
|---|---|---|
| Descaler | Citric or sulfamic acid base, phosphate-free, sold as powder or concentrate | Urnex Dezcal; Durgol Swiss Espresso; the manufacturer's own branded descaler |
| Espresso detergent | Alkaline coffee-oil cleaner for backflushing and soaking baskets | Urnex Cafiza; Puly Caff; Breville cleaning tablets |
| Grinder cleaner | Food-safe granulated tablets, no liquids | Urnex Grindz |
| Milk-line cleaner | Protein-dissolving alkaline cleaner, liquid or tablet | Urnex Rinza |
Two buying notes. Manufacturer-branded descalers are usually the same citric or sulfamic chemistry with a warranty guarantee attached — which, on an in-warranty machine, is what you're paying for. And don't substitute across categories: according to Urnex's product line documentation, Cafiza is a detergent for coffee oils and is not a descaler, so backflushing with it will never touch the scale in your boiler.
Building a Cleaning Kit
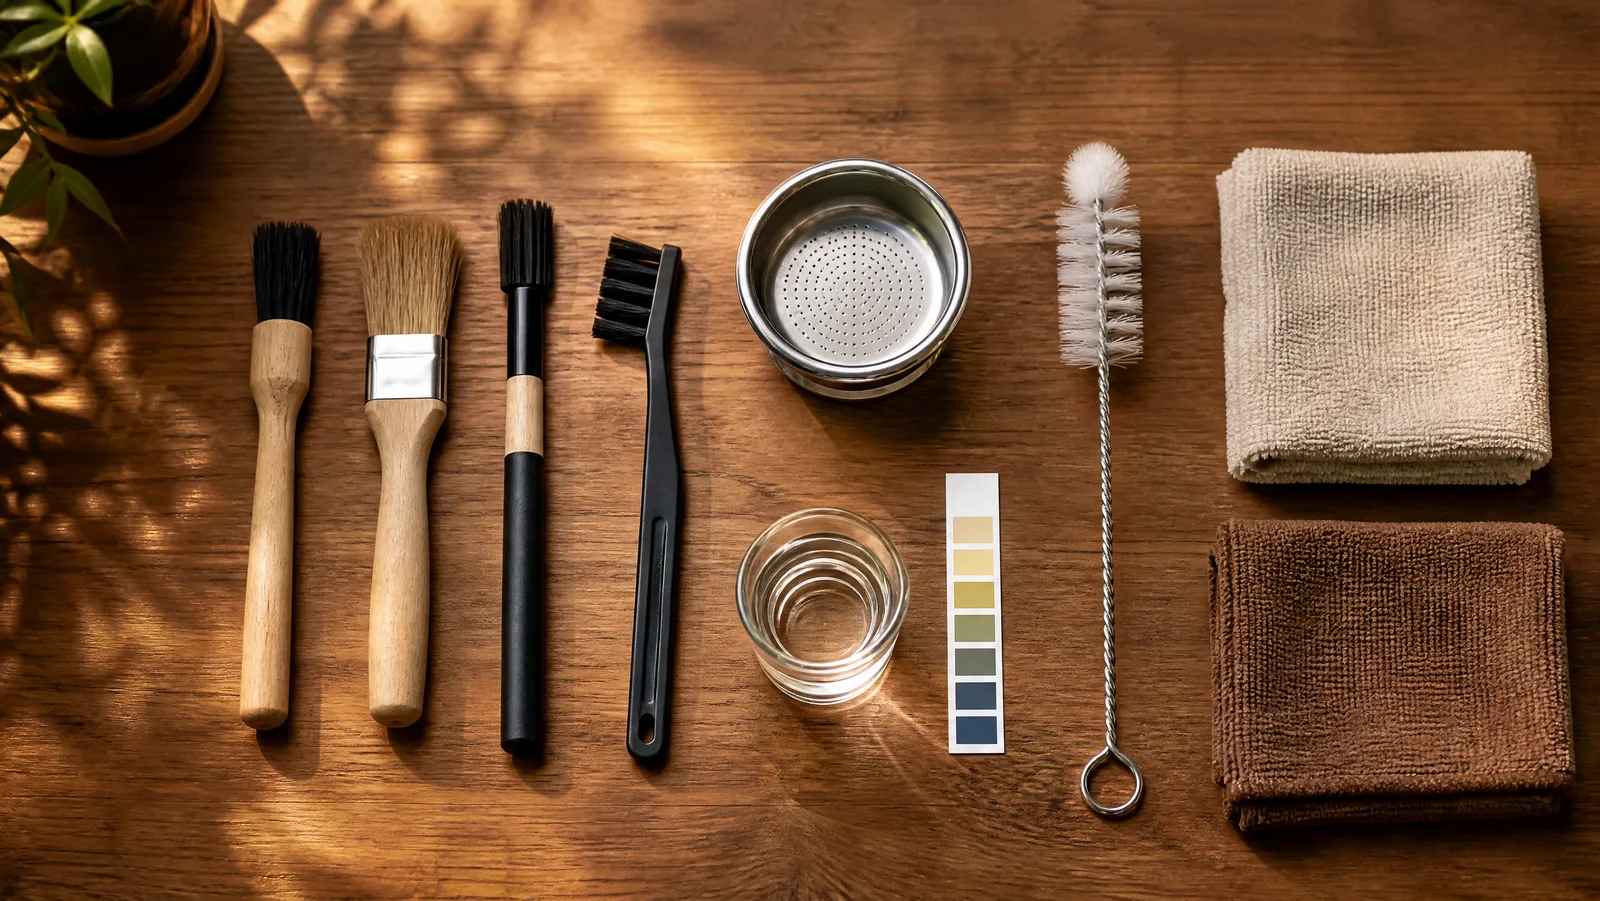
Beyond chemicals, the cleaning supplies you actually need fit in a shoebox.
| Tool | Why |
|---|---|
| Stiff nylon grinder brush | Chute, burr chamber, hopper threads |
| Small detail brush | Group gasket, shower screen, portafilter spouts |
| Two microfiber cloths | One for milk, one for everything else — never shared |
| Blind basket or blanking disc | Required for detergent backflushing |
| Bottle brush | Reservoirs, thermal carafes, cold brew vessels |
| Water hardness test strips | Sets your descaling interval instead of guessing |
| Fine pin | Pod-machine needles and steam tip holes |
The dedicated milk cloth is the item people push back on and the one that matters most — a shared cloth moves protein onto every surface it touches, which is exactly the cross-contamination failure the Lancaster inspections caught. Several of these overlap with an espresso setup's toolkit; we sort the useful from the merchandising in Espresso Accessories You Actually Need.
Five Mistakes That Wreck Equipment
- Mixing cleaning chemicals. The only item here that can hurt you rather than your machine. According to the CDC, mixing bleach with vinegar or ammonia can generate chlorine and chloramine gases capable of severe lung tissue damage. Never combine a descaler with another cleaner, and never put bleach in a coffee machine.
- Putting parts in the dishwasher. Breville's manual: "Do not clean any of the parts or accessories in the dishwasher." Bialetti says the same about its aluminum stovetop espresso makers.
- Descaling without rinsing. Acid left in a boiler keeps working on metal after it finishes with the scale — and it will taste like it.
- Getting a grinder wet. Rust on a burr edge is permanent.
- Waiting for a symptom. By the time flow slows, scale has been insulating the heating element for months. A badly scaled machine may take three cycles and still not fully recover.
Frequently Asked Questions
Does vinegar damage a coffee maker?
It depends on the machine and how long the vinegar sits in it. Household white vinegar is typically around 5% acetic acid and "cleaning vinegar" 6% or more, and espresso service guidance widely warns that repeated or prolonged contact can degrade rubber gaskets and O-rings. On a simple out-of-warranty drip brewer, diluted vinegar with a thorough rinse is low risk. On a pump espresso machine or super-automatic, use the manufacturer's descaler — Jura's guidance is that only original JURA tablets should be used, and per Jura service guidance, damage from limescale or non-approved descaling is excluded from warranty cover.
How often should I descale my coffee maker?
Keurig's official guidance is every 3 to 6 months, or when the descale light comes on — a reasonable default for moderate water. Adjust with hardness: the U.S. Geological Survey classifies water above 180 mg/L as very hard, and on water that hard you may need to descale roughly twice as often, while soft water under 60 mg/L lets you stretch the interval. If your machine has a descale indicator, follow it — it counts your actual cycles.
Can I use citric acid instead of a commercial descaler?
Yes, on an out-of-warranty machine whose manual doesn't prohibit it. Citric acid is the primary acid in many commercial descalers — according to Urnex product documentation, Dezcal is built on citric and sulfamic acid. Blends can perform well: a 2025 study in Scientific Contributions Oil and Gas found its best carbonate scale solubility, 65.79% at 50°C, from a 9:3:3 sulfamic-citric-acetic mix, slightly ahead of a 5% hydrochloric acid control. Dissolve the powder fully before it enters the tank, and rinse thoroughly.
Do I need to descale if I use filtered water?
Usually yes, just less often. A standard carbon pitcher filter removes chlorine and improves taste but does relatively little to hardness; a scale-reducing or ion-exchange filter does much more. Note that filters and descaler don't mix — Breville's manual instructs owners to remove the water filter from the tank before adding descaling powder, since the filter neutralizes the acid.
Why does my coffee taste bad even though I just descaled?
Descaling doesn't remove coffee oils, and oils are the flavor problem. Rancid residue in the basket, carafe, grinder, or shower screen survives any number of acid cycles. Wash everything the coffee touches with hot water and detergent, run grinder cleaning tablets, and scrub the reservoir — NSF International's household germ study found yeast and mold in 50% of coffee reservoirs swabbed. The other possibility is under-rinsing; run two more full tanks of fresh water.
Can I backflush any espresso machine?
No. Backflushing requires a three-way solenoid valve, which most entry-level single-boiler machines with pressurized baskets don't have; attempting it without one builds pressure where it doesn't belong. Your manual will say. For machines that support it, La Marzocco recommends about half a teaspoon of espresso machine cleaner in a blind disc, at least three on-off cycles, the dispersion screen left in place, then a water-only cycle and a final flush with the portafilter removed.
Related reading
- The Ultimate Coffee Equipment Guide 2026 — how the setup fits together
- The Complete Home Espresso Guide (2026) — machines through milk drinks
- Why Water Quality Matters for Coffee — the mineral targets behind flavor and scale
- Burr Grinder vs. Blade Grinder — why grinder type changes the routine
- How to Steam Milk Like a Barista — technique for the wand you just cleaned
- Espresso Accessories You Actually Need — what's worth owning
Explore the full series
- How to Descale a Coffee Maker (Step by Step) — The step-by-step descaling procedure, machine type by machine type.
- How to Clean a Burr Grinder (Without Wrecking the Burrs) — Brushing, tablets, and a dry deep clean — without damaging the burrs.
- Vinegar vs Descaling Solution: Which Should You Use? — What each acid actually does to your machine — and what the manufacturers say.
- How Often Should You Descale Your Coffee Maker? — Turning “every three months” into an interval built from your water and your cup count.
- How to Backflush and Maintain an Espresso Machine — Backflushing, group head care, gaskets, and the full maintenance calendar.
- How to Clean a French Press, AeroPress, and Pour-Over Gear — French press, AeroPress, V60, Chemex, and moka pot — the parts nobody takes apart.
- How to Clean a Steam Wand and Milk System — Purge, wipe, purge — plus the deep clean that actually removes baked-on milk protein.
- DIY Descaling Solution: Citric Acid vs Vinegar Recipes — Mixing your own descaler, with real ratios and the warranty question answered first.
- Best Coffee Machine Cleaners and Descalers in 2026 — One pick per job: descaler, espresso detergent, grinder cleaner, milk-line cleaner.
- Coffee Equipment Cleaning Supplies You Actually Need — The four-tool kit that covers everything — and the gadgets that are just merchandising.