How to Roast Coffee at Home: The Complete Guide (2026)

Affiliate disclosure: Sweeter Grind is a participant in the Amazon Services LLC Associates Program. We may earn commissions on qualifying purchases at no extra cost to you.
Somewhere between "I buy whole beans from the grocery store" and "I work as a production roaster" there is a hobby that quietly changes how you think about coffee forever: roasting it yourself. A pound of specialty green coffee costs roughly half what the same coffee costs already roasted. The beans keep for a year or more in their green state. And the cup you pour three days after you roast is brighter, sweeter, and more alive than anything you will ever buy off a shelf.
Home roasting is also, depending on the day, smoky, loud, slightly messy, and addictive. The learning curve is real — your first few batches will be uneven, your neighbors may ask what is burning, and you will briefly wonder why the roaster at your local cafe makes it look so easy. But the gap between a bad home roast and a great one is only a few batches wide, and the craft is genuinely rewarding.
Below: why people bother roasting at home, the gear you actually need (and what you can skip), how to roast safely without setting off smoke alarms, what happens inside the bean during a roast, how to hit light, medium, and dark targets consistently, where to buy green beans, how to taste your own roasts critically, and the honest signs you're ready to upgrade past your first setup. Each section links out to a deeper dive.
If you have not yet locked down the fundamentals of brewing, start with our Complete Guide to Coffee Brewing Methods. If you want to understand the beans themselves before you start cooking them, read The Ultimate Guide to Coffee Beans and Roasts. And if you need brewers, grinders, and kettles to taste your roasts properly, the Ultimate Coffee Equipment Guide has you covered.
Why Roast Coffee at Home?
Three reasons, in the order most people discover them.
Freshness. Roasted coffee peaks in flavor somewhere between 4 and 14 days off roast, then slowly declines for another two to four weeks. After that the aromatics fade, the oils oxidize, and the cup turns flat. The "roasted on" date on a grocery-store bag is often 4 to 12 weeks before you open it — which means the best supermarket coffee in the country still arrives past its prime. Home roasting lets you brew on the peak, every single time.
Savings. Specialty green coffee runs roughly $7–$14 per pound depending on origin and grade. The same coffee roasted and bagged by a third-wave roaster costs $18–$28 per pound. Shipping brings that spread closer together, but on a yearly basis a household that drinks a pound a week saves $300–$700 roasting at home. The payback window on a $200 roaster is usually under a year.
Craft. This is the reason you actually stay. Once you start tasting the difference between a 9-minute roast and an 11-minute roast of the same bean, once you can walk into a cafe and identify what the roaster did right (or wrong), once you have pulled a washed Ethiopia so bright it tastes like lemon tea — the coffee world opens up. You stop being a consumer and start being a practitioner.
What Actually Happens Inside the Bean
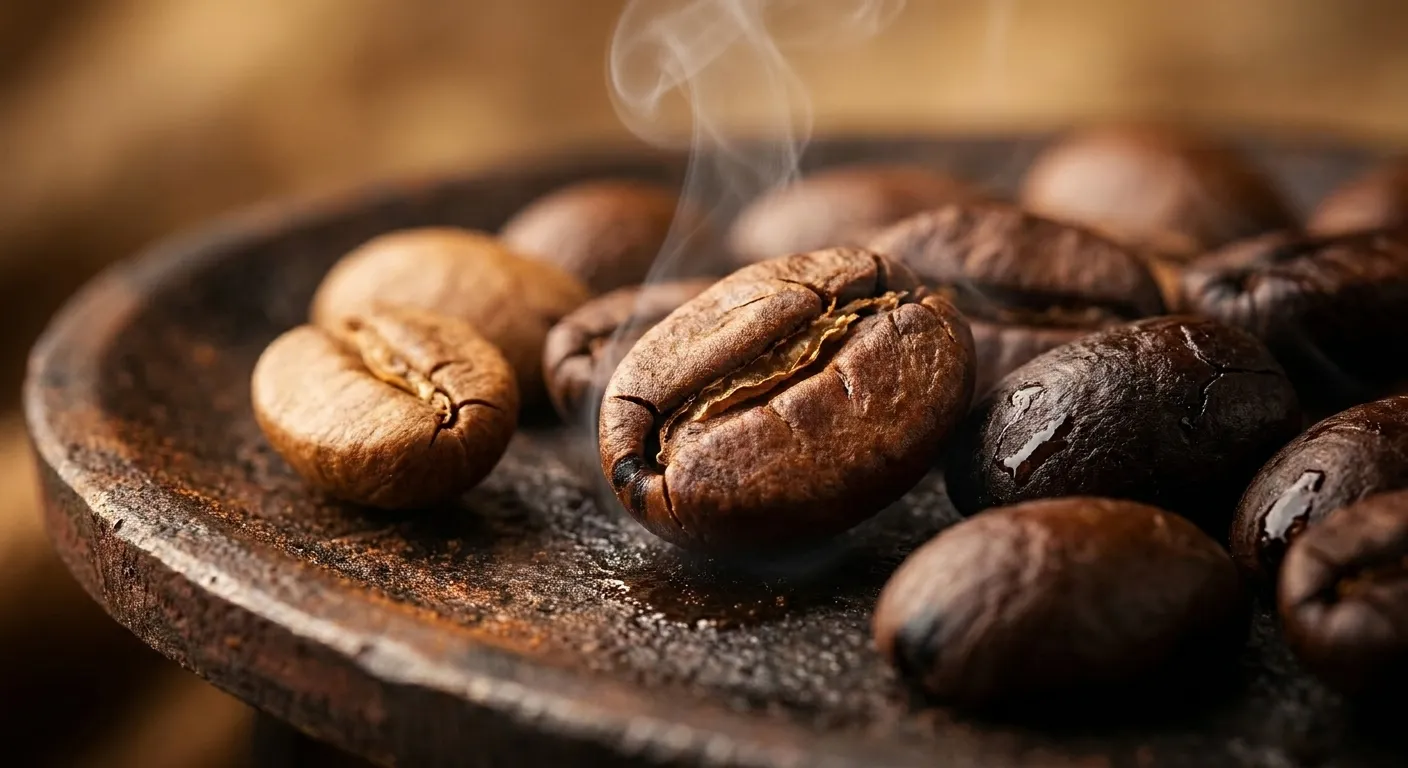
A roast is a chemical transformation, not just a cook. The green bean is a dense, grassy-smelling seed with about 10–12% moisture content. By the time it is a dark brown roasted bean, it has lost 12–20% of its weight (mostly water and CO2), nearly doubled in volume, and run through thousands of distinct chemical reactions.
You can divide any roast into four physical stages:
| Stage | Bean Temp | What You See | What Is Happening |
|---|---|---|---|
| Drying | Charge to ~160°C / 320°F | Green turns yellow, smells grassy then bready | Free and bound water boils off |
| Maillard | 160–200°C / 320–392°F | Yellow turns tan, smell turns toasty/nutty | Amino acids react with sugars; browning begins |
| First Crack | ~200°C / 392°F | Audible popping, beans expand visibly | Internal steam fractures the cellular structure |
| Development | First crack to drop | Color deepens, oils begin to migrate | Sugars caramelize, acids break down, aromatics develop |
If you carry the roast far enough past first crack, you will reach a second crack at around 224°C / 435°F — a quieter, higher-pitched crackling as CO2 and oils force through the weakened cell walls. Second crack is the territory of dark roasts and the edge of the cliff before you are making charcoal.
These milestones are non-negotiable. Every roaster, from a $30 air popper to a $20,000 commercial drum, passes through exactly the same stages in the same order. The only thing that changes is how much control you have over the speed. For a much deeper look at the two audible milestones, see our dedicated explainer on first crack and second crack.
Essential Gear (and What You Can Skip)
The honest answer is that you can start for under $50 and upgrade later. Here is the realistic hierarchy.
The roaster. This is the big choice. Your options are a hot-air popcorn popper (cheap, small batches, gateway drug), a stovetop skillet or wok (free, highest skill required, smokiest), an oven with a perforated pan (medium results, very smoky), or a purpose-built home roaster like a FreshRoast SR800, Behmor 1600 Plus, or an Aillio Bullet R1 ($250–$3,500). We compare these head-to-head in home roasting methods compared.
A timer and a thermometer. A simple kitchen timer works. A thermometer is useful if your roaster does not have one built in — infrared guns read surface temp accurately, probe thermometers read bean mass temp if you can insert them.
A colander or metal bowl. For cooling. You dump the beans out of the roaster the instant you hit target color, and rapid cooling stops the roast. Two metal colanders passed between each other over a sink is the classic low-budget setup.
A scale. A 0.1 gram kitchen scale for weighing green beans in and roasted beans out — the weight loss percentage is one of your most reliable roast indicators. See our separate piece on understanding roast profiles for how to read that number.
Storage. One-way valve bags or airtight canisters. Freshly roasted coffee vents CO2 for 24–72 hours and needs somewhere to let that gas out without letting oxygen in. Full details in resting and storing freshly roasted coffee.
What you can skip at the start: a dedicated grinder upgrade (any decent burr grinder you already own is fine), sample roasters, artisan software, data loggers, and chaff collectors. Those come later, if at all.
Safety: Ventilation, Smoke, and Chaff
Coffee roasting produces three things that will get your attention: visible smoke, invisible combustion products, and chaff — the papery skin of the bean that sheds during the roast and floats around the room like dry snow.
Three rules, in priority order.
1. Always roast with real ventilation. A range hood that vents outside is ideal. An open garage with a box fan pointing out is fine. A kitchen with a window cracked and the stove hood on recirculate is barely adequate and will set off your smoke alarm in about six minutes. Never roast in a closed room without airflow. Carbon monoxide is a real risk in enclosed spaces, especially with gas-powered setups.
2. Manage the chaff. Most air-driven roasters blow chaff out a vent — plan for this. Some roasters have chaff collectors; empty them between batches. Chaff is combustible, and enough of it accumulated near a heating element is a fire hazard. A quick vacuum of your roaster area every few batches handles it.
3. Never walk away. A runaway roast produces thick smoke, then a scorched smell, then — in the worst case — flames. Coffee oils can ignite at temperatures starting around 240°C / 464°F, which is only about 15 degrees past second crack. Stay within arm's reach of the roaster the entire time. Keep a lid or a damp towel nearby to smother any flames inside the chamber.
A smoke alarm placed reasonably nearby is good practice, not an annoyance. If yours screams during a dark roast, that is the alarm doing its job.
Hitting Light, Medium, and Dark Roast Targets
Roast level is a combination of bean surface color, internal bean color, and the sound cues you passed along the way. The three broad targets most home roasters aim for:
| Target | Time Past First Crack | Surface Look | Flavor Profile |
|---|---|---|---|
| Light | 30–90 seconds | Matte, tan to light brown, no oil | Bright, fruity, tea-like, highest acidity |
| Medium | 90 seconds to early second crack | Medium brown, still matte or slightly sheen | Balanced, caramel, chocolate, rounded acidity |
| Dark | Into or through second crack | Shiny with visible oil, deep brown to near-black | Smoky, bittersweet, heavy body, low acidity |
The gap between light and medium is roughly 60–90 seconds. The gap between medium and dark is another 45–75 seconds. A roast that goes 30 seconds too long tastes noticeably different. This is why a timer and consistent batch sizes matter so much — you are navigating a narrow window.
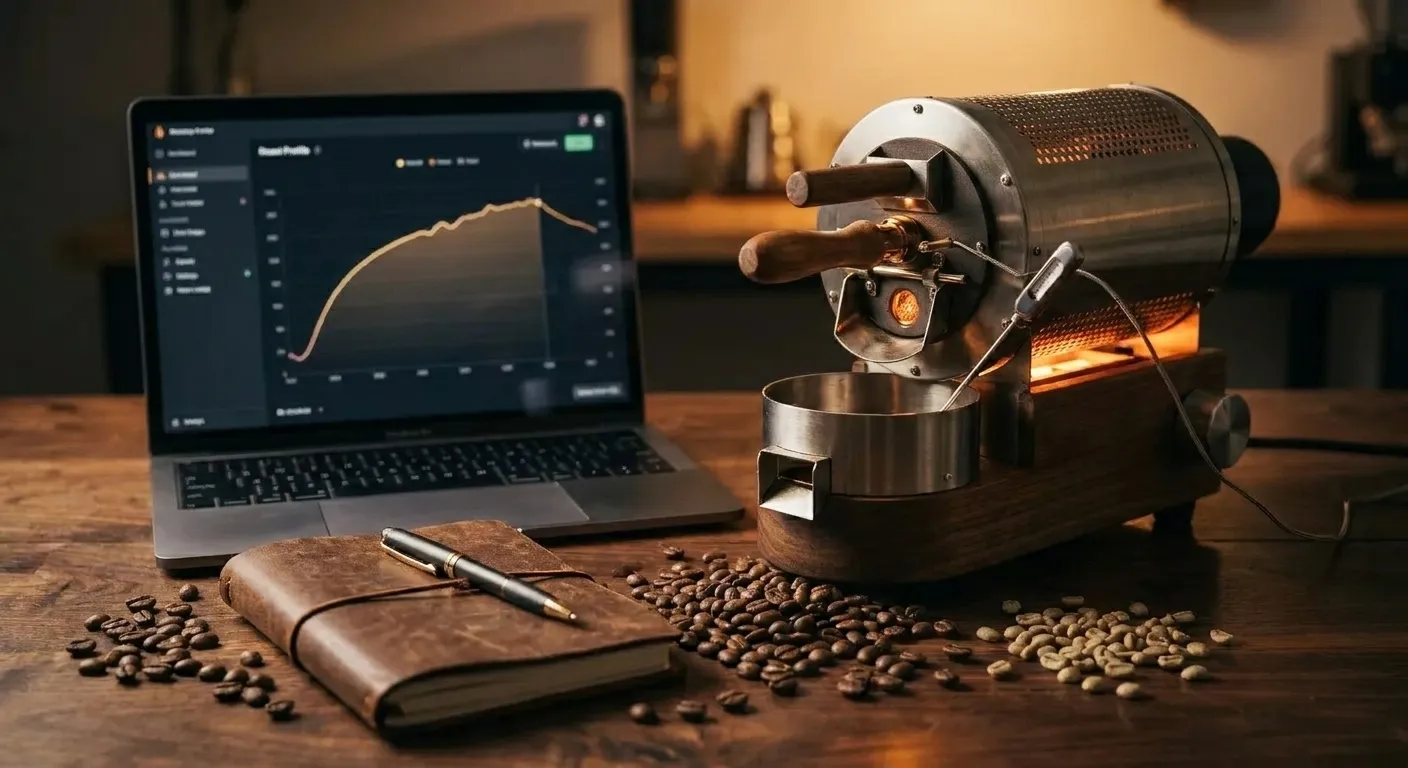
The ratio of total roast time to post-first-crack time is called Development Time Ratio (DTR), and it is one of the few numbers professional roasters obsess over. We go deep on DTR and roast curve shaping in understanding coffee roast profiles.
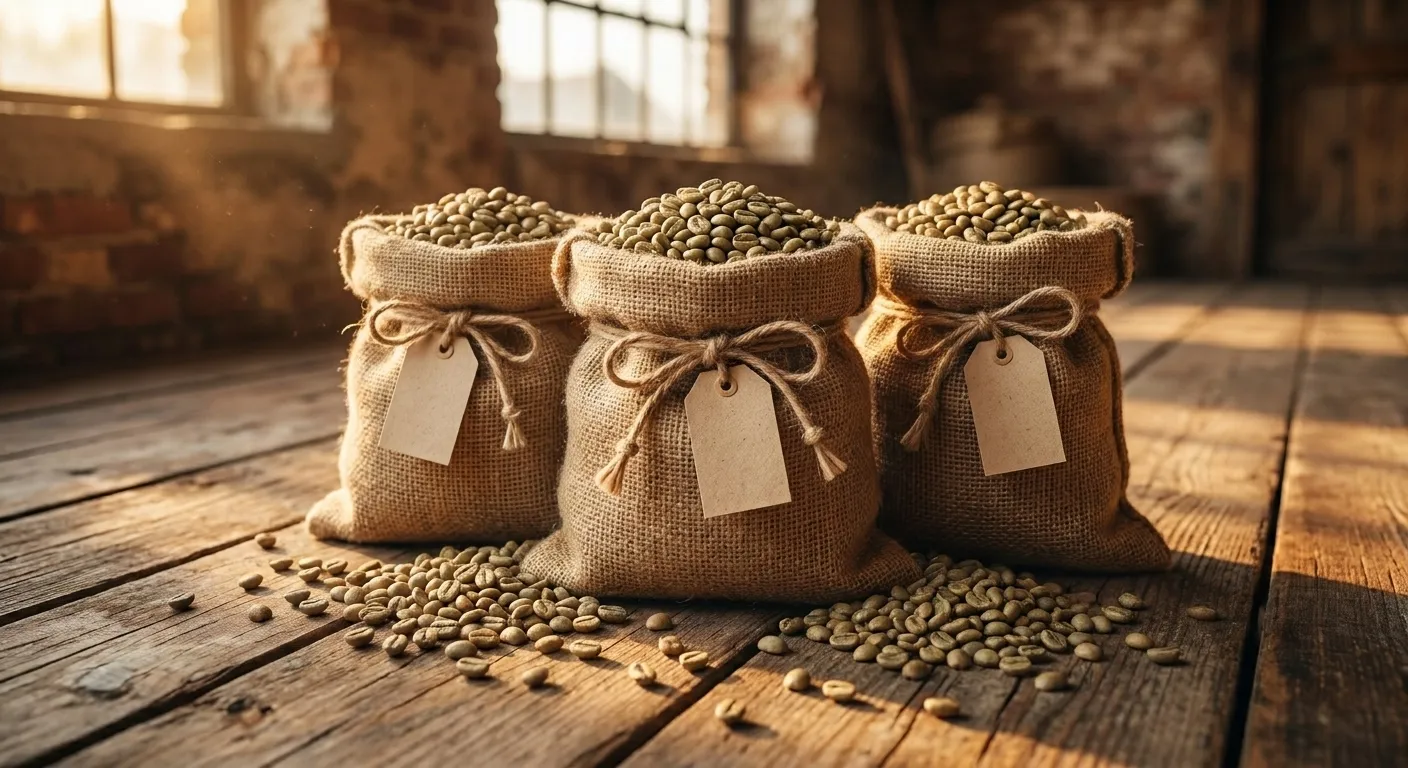
Sourcing Green Coffee Beans
You cannot roast what you cannot source, and the quality of the green bean sets the ceiling on everything. A bad green bean will be a bad roasted bean, no matter how skilled the roast. A great green bean is hard to ruin.
The good news: the green coffee market for hobbyists is mature, well-stocked, and competitive. A handful of dedicated importers sell one-pound samplers to home roasters at prices only slightly above commercial per-kilo rates. Sweet Maria's, Happy Mug, Bodhi Leaf, Royal Coffee's Crown Jewel program, Coffee Bean Corral, and Klatch Coffee all ship fresh, cupped, and scored greens to your door.
Look for these signals on any green bean listing:
- Cupping score (84+ for specialty, 88+ for exceptional)
- Harvest year (the most recent is best; current crop beans cup more vibrantly)
- Processing method (washed, natural, honey — affects flavor dramatically)
- Origin and varietal (e.g., "Ethiopia Yirgacheffe Heirloom" vs. generic "Ethiopia")
- Roast suggestions from the importer (trust these as a starting point)
A sampler pack — typically four 1-pound varieties for $40–$55 — is the smartest first purchase. You get exposure to multiple origins, can compare them directly, and learn what you actually like before committing to a 5-pound bag. Our full breakdown is in where to buy green coffee beans.
Cupping Your Own Roasts
Cupping is how you find out whether your roast actually worked. The protocol is simple and consistent enough that you can compare your third batch to your thirtieth.
The SCA cupping procedure in plain language:
- Grind 8.25 grams of your roasted coffee coarsely (just coarser than drip grind).
- Place the grounds in a 150–200ml cupping bowl or thick mug.
- Smell the dry grounds. Note the fragrance.
- Pour 150ml of 200°F / 93°C water directly onto the grounds.
- Wait 4 minutes. A crust will form.
- Break the crust with a spoon and lean in to smell. Note the aroma.
- Skim off the foam and floating grounds.
- After the brew cools to around 70°C / 158°F, taste with a soup spoon.
- Slurp aggressively. You are aerosolizing the liquid across your palate.
- Note: acidity, body, sweetness, balance, aftertaste, defects.
Cup the same roast at 24 hours, 3 days, 7 days, and 14 days off roast. The cup will change dramatically across that timeline, and you will start to learn when each bean peaks. This is the fastest way to understand your own roasting.
For the underlying taste chemistry — why a sour cup means under-extraction or an underdeveloped roast — see coffee extraction 101.
Resting Your Coffee Before You Brew
A common first-time home-roaster mistake is to brew the beans immediately after roasting, then conclude that home roasting is disappointing. The beans are not disappointing. They are degassing.
Roasted coffee releases CO2 for 1–3 weeks after roasting, with the heaviest venting in the first 24–72 hours. During that initial window the gas interferes with brewing: it creates huge, uneven blooms on pour-over, dilutes espresso extraction, and carries sour carbonic notes into the cup. A coffee roasted Tuesday will taste noticeably better on Friday and usually peak over the following weekend.
General resting guidelines:
- Espresso: 5–14 days minimum. Fresh espresso is a nightmare.
- Pour over and drip: 2–10 days.
- French press and AeroPress: 2–7 days.
- Cold brew: 2–21 days (the most forgiving method).
Our full guide on resting and storage lives at resting and storing freshly roasted coffee.
When You're Ready to Upgrade
The first roaster is the first roaster — rarely the last. Common upgrade triggers:
- You cannot roast a full pound at once. Air poppers and small fluid-bed roasters top out at 4–8 ounces. Once you are roasting weekly for a household, the math gets frustrating.
- You cannot taste the difference between your roasts. Usually a control problem, not a palate problem. Roasters with manual heat and airflow control give you the levers you need.
- You want to roast dark. Air poppers and some small fluid-bed units cannot reach second crack cleanly. Drum roasters and higher-wattage fluid-bed roasters can.
- You are roasting for more than yourself. A 1-pound drum roaster with a data logger (Aillio Bullet, Kaffelogic Nano 7e) lets you build reproducible profiles you can share.
- You're bored. The honest reason. Once you have done 50 batches in the same setup and want to know what a classic drum roast tastes like, upgrade.
A reasonable upgrade path for most hobbyists: popcorn popper ($30) → fluid-bed roaster like a FreshRoast SR800 ($265) → drum roaster like a Behmor 1600 Plus ($425) or an Aillio Bullet R1 ($3,500+). Each step up adds capacity, control, and consistency.
FAQ
How long does it take to roast a batch at home? 8 to 15 minutes, depending on method and roast level. Add 3–5 minutes to preheat and 4–5 minutes to cool.
Will home roasting save me money? Yes, roughly 40–60% per pound once you account for green bean cost and shipping. A roaster pays for itself within a year of regular use for most households.
Do I need a special roaster, or can I use what I have? You can start with a popcorn air popper ($20–$30), an oven with a perforated pan, or a stovetop skillet. None of these are ideal long-term, but all of them teach you the fundamentals.
Is home-roasted coffee better than store-bought? It is fresher, which is the largest single flavor variable. Whether it is "better" depends on your roasting skill relative to a professional's. A first-year home roaster using great green beans will usually beat supermarket coffee easily and match most local cafes within 3–6 months.
How much space do I need? A countertop with a window or range hood nearby. Most home roasters have a footprint similar to a bread machine or a large blender.
Is it safe to roast indoors? Yes, with adequate ventilation. Always roast near a hood vent or an open window with a fan moving air out. Never roast in a closed space without airflow.
What is the biggest mistake beginners make? Roasting too dark, too fast. Take your time on the first few batches, pull them a little lighter than you think you want, and taste the results after a 3-day rest.
Where to Go From Here
Home roasting connects every other part of the coffee craft — the beans you source, the methods you brew with, the equipment you own, and the sensory skills you build over time. Start with a cheap setup and fresh green beans, roast 10 batches, and decide from there what you want to grow into.
Recommended next reads:
- Home Roasting Methods Compared — pick your starting roaster
- First Crack and Second Crack Explained — read the sounds of a roast
- Where to Buy Green Coffee Beans — trusted importers for home roasters
- Air Popper Coffee Roasting Guide — the $30 starting point
- Understanding Coffee Roast Profiles — charge temp, turning point, and DTR
- Resting and Storing Freshly Roasted Coffee — the 2-week sweet spot
- The Ultimate Guide to Coffee Beans and Roasts — the bean landscape
- Complete Guide to Coffee Brewing Methods — brewing your own roast
- The Ultimate Coffee Equipment Guide — grinders, brewers, kettles
- Coffee Extraction 101 — the taste science
- Coffee Bean Finder — find a profile you will love