Understanding Coffee Roast Profiles: Charge Temp, Turning Point, DTR, and Drop
Affiliate disclosure: Sweeter Grind is a participant in the Amazon Services LLC Associates Program. We may earn commissions on qualifying purchases at no extra cost to you.
Once you have roasted a few batches of coffee, a question starts to surface: "Why did this batch come out different from the last one?" The beans were the same. The target was the same. But the cup tastes noticeably different. The answer, almost always, is that your roast profile changed.
A roast profile is the curve your bean temperature follows from the moment green beans hit the roaster to the moment you drop them into the cooler. A few landmarks on that curve — charge temp, turning point, first crack time, development time, drop temp — define the shape of the roast. Change any one of them and the flavor moves. Good roasters learn to steer the curve on purpose.
Below: each landmark in plain language, how they connect, and starting-point profiles for light, medium, and dark roasts. For foundational context, start with our pillar how to roast coffee at home. For the underlying sound cues, see first crack and second crack explained.
The Anatomy of a Roast Curve
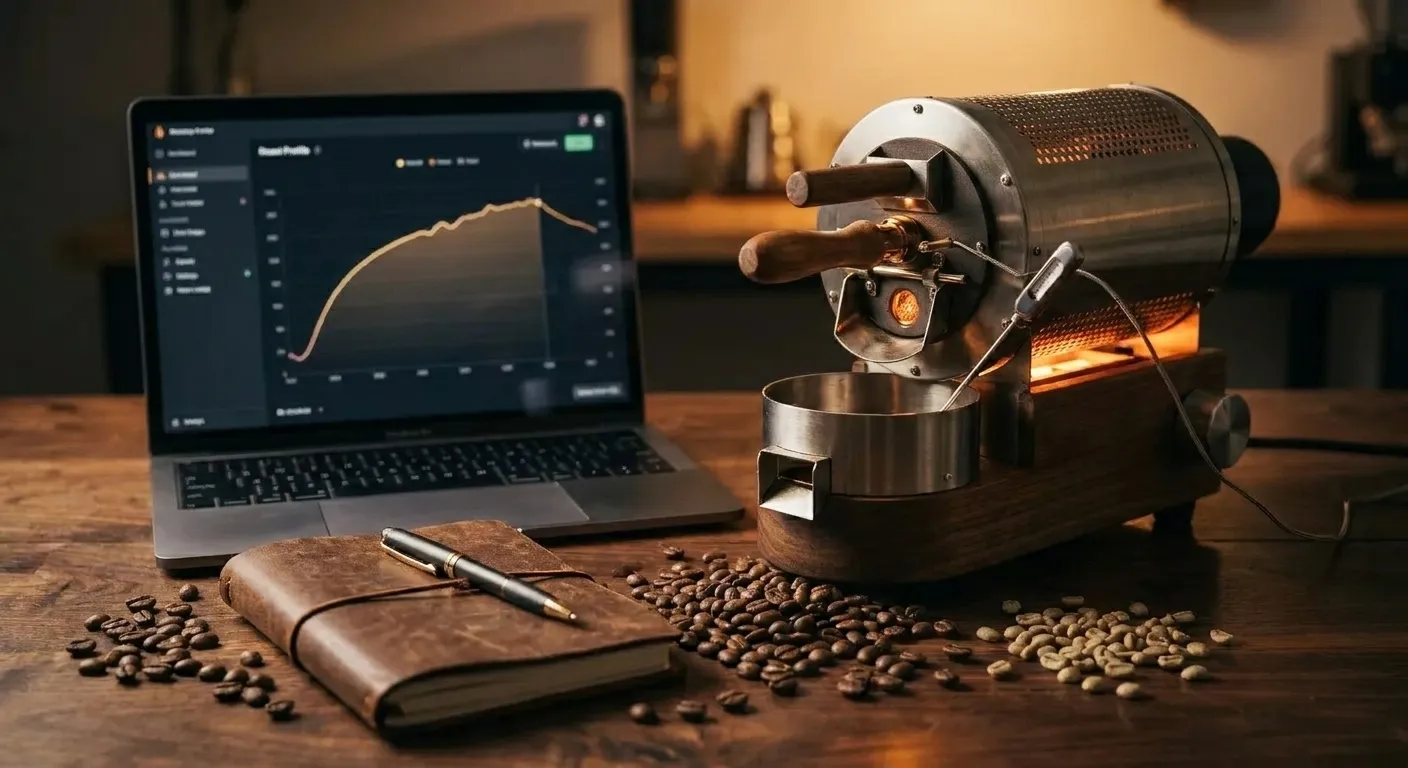
If you graph bean temperature against time during a coffee roast, you get a recognizable shape: a steep drop right at the start, a slow climb over several minutes, an inflection around first crack, and a final push until drop.
The key landmarks, in order:
| Landmark | What It Is | Typical Value |
|---|---|---|
| Charge temp | Drum/chamber temperature at the moment beans go in | 200–230°C / 392–446°F |
| Turning point | The lowest temp the beans reach before climbing | 70–95°C / 158–203°F |
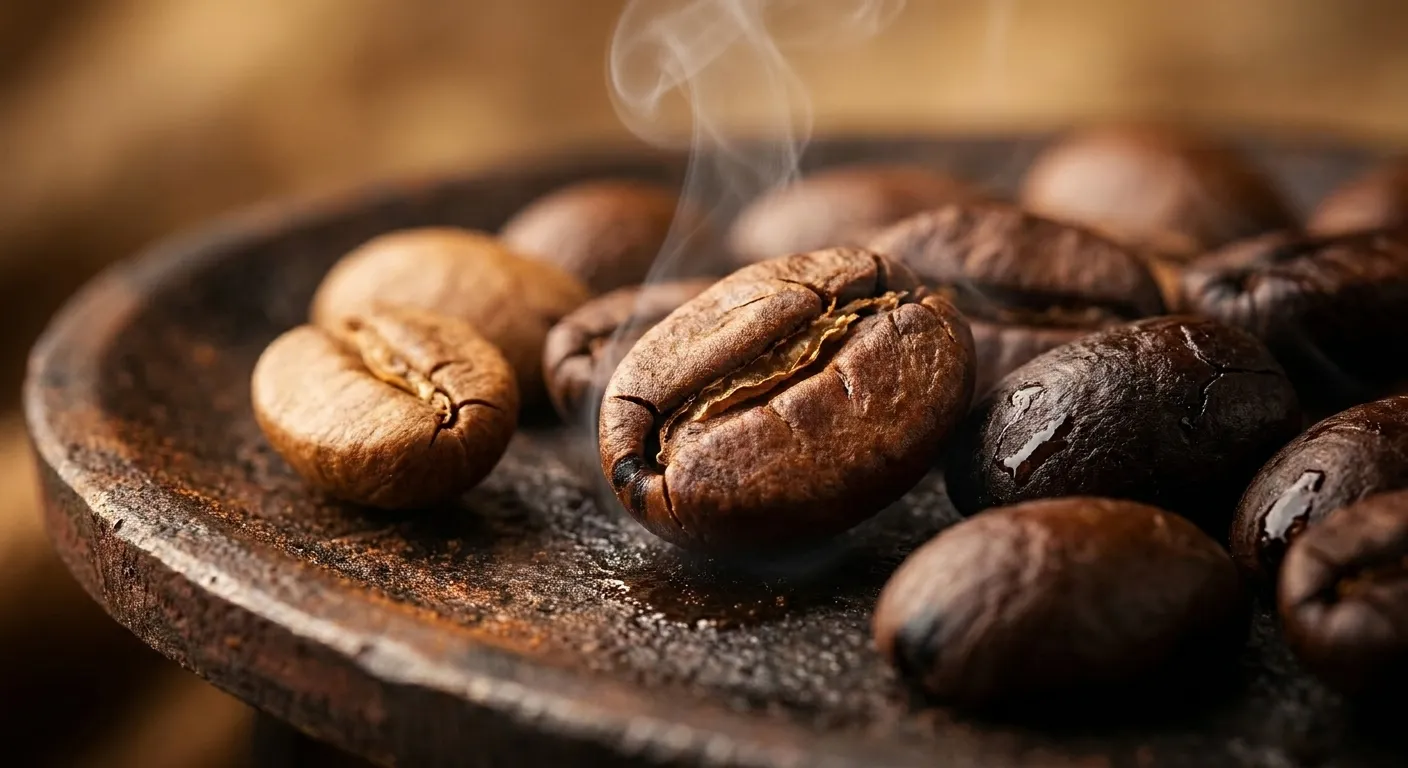
| Yellow point | Visual transition from green/yellow to tan | ~150°C / 302°F |
| First crack start | Audible first crack begins | ~200°C / 392°F |
| First crack end | Cracks slow/stop | ~207°C / 405°F |
| Second crack start | Quieter, higher-pitched cracking | ~224°C / 435°F |
| Drop temp | Bean temp at which you cool the batch | Varies by target |
Every commercial roaster in the world tracks some subset of these numbers. Home roasters with data loggers (Aillio Bullet, Kaffelogic Nano 7e) track all of them. Home roasters without data loggers (popcorn poppers, many drum units) track the ones they can see or hear — and that is enough to produce great coffee.
Charge Temperature
Charge temp is the temperature of the drum or chamber at the moment you dump the green beans in. It sets up everything that happens next.
- Too low (say, below 190°C / 374°F for a drum roaster): the beans drag. The drying phase stretches out, first crack is late, and you often end up baking the coffee flat.
- Too high (say, above 240°C / 464°F): the bean surface scorches before the interior has caught up. You get tipping and scorching defects — dark spots on the bean surface and a harsh, ashy cup.
- Just right: depends on your roaster and batch size. For a 1-pound drum roaster, 205–215°C / 400–420°F is a common charge temp. For a FreshRoast-style fluid bed, charge temperature is less controllable (you plug it in, heat comes on, you add beans).
The charge-temp decision interacts with batch size. A larger batch of beans will cool the drum more dramatically, requiring a higher charge temp to compensate. Halve your batch and you usually need to drop charge temp 10–15°C / 20–30°F to avoid scorching.
Turning Point
When the cold green beans hit the hot drum or chamber, the bean mass temperature initially drops (as the probe reads the colder beans rather than the hotter drum), then starts climbing as heat transfers. The lowest point is the turning point.
Turning point matters because:
- A turning point reached quickly (60–90 seconds) usually means your charge was energetic — plenty of thermal momentum heading into the drying phase.
- A turning point reached slowly (2+ minutes) often means you charged cold, or your burner is struggling to keep up. Expect a sluggish roast.
- A turning point that is very low (under 70°C / 158°F) usually means you charged too hot and shocked the beans.
For most home roasters, turning point of 80–90°C / 176–194°F at 90 seconds is a healthy benchmark. You cannot directly control turning point — it is an emergent property of charge temp, batch size, bean mass, and bean moisture — but you can learn to read it as feedback on your charge decisions.
The Drying Phase and Yellow Point
From turning point until the bean surface transitions from green to yellow (roughly 150°C / 302°F), the beans are shedding water. This is the drying phase, and it typically runs 3–5 minutes in a home drum roast, shorter in a fluid bed.
A healthy drying phase:
- Takes 30–50% of total roast time in a drum roaster
- Ends with a recognizable grassy/hay smell transitioning to bready
- Produces a uniform yellow bean color at the end
- Sets up the Maillard phase that follows
A drying phase that is too fast tends to produce underdeveloped coffee: the surface browns but the interior has not fully dehydrated. A drying phase that is too slow produces baked coffee: the bean stalls and loses flavor complexity.
Maillard, First Crack, and the Start of Development
After yellow point, the bean enters the Maillard reaction zone — the same chemistry that browns bread crust and sears a steak. Amino acids and sugars react, color deepens from yellow to tan to light brown, and aromas shift from bready to toasty to caramel.
Maillard runs from roughly 150°C / 302°F to 195°C / 383°F. It is where much of the coffee's eventual flavor complexity is built. A healthy Maillard phase in a drum roast typically runs 2–4 minutes.
At the end of Maillard, bean temperature crosses the first crack threshold. Audible cracking begins around 200°C / 392°F. This is the start of development time — the most important single metric in professional coffee roasting.
See first crack and second crack explained for a full breakdown of what happens and what to listen for during the cracks.
Development Time Ratio (DTR)
Development time is the time between the start of first crack and the moment you drop the beans. Divided by the total roast time, it becomes Development Time Ratio:
DTR = (Development Time) / (Total Roast Time)
A concrete example: if total roast time is 10 minutes and first crack started at 8:30, your development time is 1:30 and your DTR is 15%.
| DTR | Result |
|---|---|
| <12% | Underdeveloped; sour, grassy, astringent |
| 12–18% | Very light roasts; bright, tea-like, aromatic |
| 18–23% | Light to medium-light; balanced acidity with sweetness |
| 23–27% | Classic medium; rounded, caramel, chocolate |
| 27–32% | Medium-dark; bittersweet, heavy body |
| >32% | Baked or overdeveloped; flat, dull, muddled |
The 18–27% range is where most specialty coffee lives. Dialed-in roasters aim for a specific target (say 22%) on a specific bean and then reproduce it batch to batch.
A common rule of thumb: a 10-minute roast with development time of 2 minutes (20% DTR) lands squarely in the specialty pocket for most beans and most roasters. Shift up or down from there depending on the cup.
Drop Temperature and Cooling
Drop temperature is the bean mass temperature at the moment you pull the beans and start cooling. It is usually measured by a probe in the bean mass, not by the ambient drum temperature.
Typical drop temperatures by target:
| Roast Level | Drop Temp |
|---|---|
| Nordic light | 205–210°C / 401–410°F |
| Light | 210–213°C / 410–415°F |
| Medium-light | 213–216°C / 415–421°F |
| Medium | 216–220°C / 421–428°F |
| Medium-dark | 220–224°C / 428–435°F |
| Dark | 224–230°C / 435–446°F |
Cooling matters as much as the roast itself. A bean at 218°C / 424°F does not stop roasting when you turn off the heat. Residual heat inside the bean continues to drive chemistry for several minutes unless you cool rapidly. Commercial roasters cool to below 50°C / 122°F in 4 minutes. Home roasters should aim for under 6 minutes.
If your cooling is slow, pull the beans earlier to account for "coast" — the temperature rise that continues after drop. A 2–4°C / 4–7°F coast is typical in a well-cooled batch.
Three Starting Profiles to Try
Rather than give you a single universal recipe, here are three starting profiles to experiment with on a 4–8 oz batch in a home roaster. Adjust heat levels to match your specific hardware.
Light Roast ("Nordic light") — total time 9:30
- Charge: full heat
- Yellow at 4:30
- First crack at 8:00
- Development: 90 seconds (DTR 16%)
- Drop at 9:30 at 211°C / 412°F
- Cup notes: bright, tea-like, florals, aggressive acidity
Medium Roast ("classic specialty") — total time 11:00
- Charge: full heat
- Yellow at 5:00
- First crack at 9:00
- Development: 2:00 (DTR 18%)
- Drop at 11:00 at 217°C / 423°F
- Cup notes: balanced acidity, caramel, chocolate, rounded sweetness
Medium-Dark Roast ("espresso style") — total time 12:30
- Charge: full heat
- Yellow at 5:00
- First crack at 9:30
- Development: 3:00 (DTR 24%)
- Drop at 12:30 at 222°C / 432°F, just before second crack
- Cup notes: deep bittersweet chocolate, heavy body, low acidity
Roast each three times and cup them at 5 days off roast. You will hear and taste the differences immediately.
Reading Your Own Curve
Even if you do not have a data logger, you can track:
- Time to yellow point (visually)
- Time to first crack (audibly)
- Time to drop (by your timer)
- Weight loss percentage (weight in / weight out, expressed as a percentage). Typical targets: 12–14% for light, 14–16% for medium, 17–20% for dark
A simple batch log of these four numbers, plus a cupping note 5 days later, is enough to reverse-engineer what worked and what did not.
For more advanced roasters with probes and software, Artisan (artisan.plus) is a free, open-source roast logger used by commercial roasters and serious home roasters worldwide.
FAQ
What is the single most important metric to track? Development Time Ratio. It predicts more of the flavor outcome than any other single number.
Can I roast without a thermometer? Yes. Color, sound, and timing get you to drinkable coffee. A thermometer gets you to reproducible coffee.
What is "baking" a coffee? Baking is a roast defect where the bean mass heats too slowly, especially in the Maillard phase. The result is a flat, dull cup with muddied sweetness and no brightness. The fix is more heat earlier in the roast.
What is a "scorched" or "tipped" coffee? Scorching is surface damage from excessive contact heat (usually drum-based roasters with too-high charge temp). Tipping is black-spot damage at the ends of individual beans from similar causes. Both show up as harsh, burnt notes in the cup.
How accurate do my measurements need to be? Within ±10 seconds on timing, ±2°C / ±5°F on temperature, and ±0.5% on weight loss is sufficient for home roasting. You are not calibrating a space mission.
Do profiles transfer between roasters? Approximately, not exactly. A 10-minute drum profile will not directly apply to a fluid-bed roaster, but the same DTR target (say 20%) often does transfer.

, scale, [WDT tool](https://www.amazon.com/s?k=WDT%20tool&tag=sweetergrind-20), and [knockbox](https://www.amazon.com/s?k=knockbox&tag=sweetergrind-20)](/images/espresso-accessories-you-actually-need-hero.webp)