How to Use a Camping Percolator (Without Bitter Coffee)
 Tommie Chaney·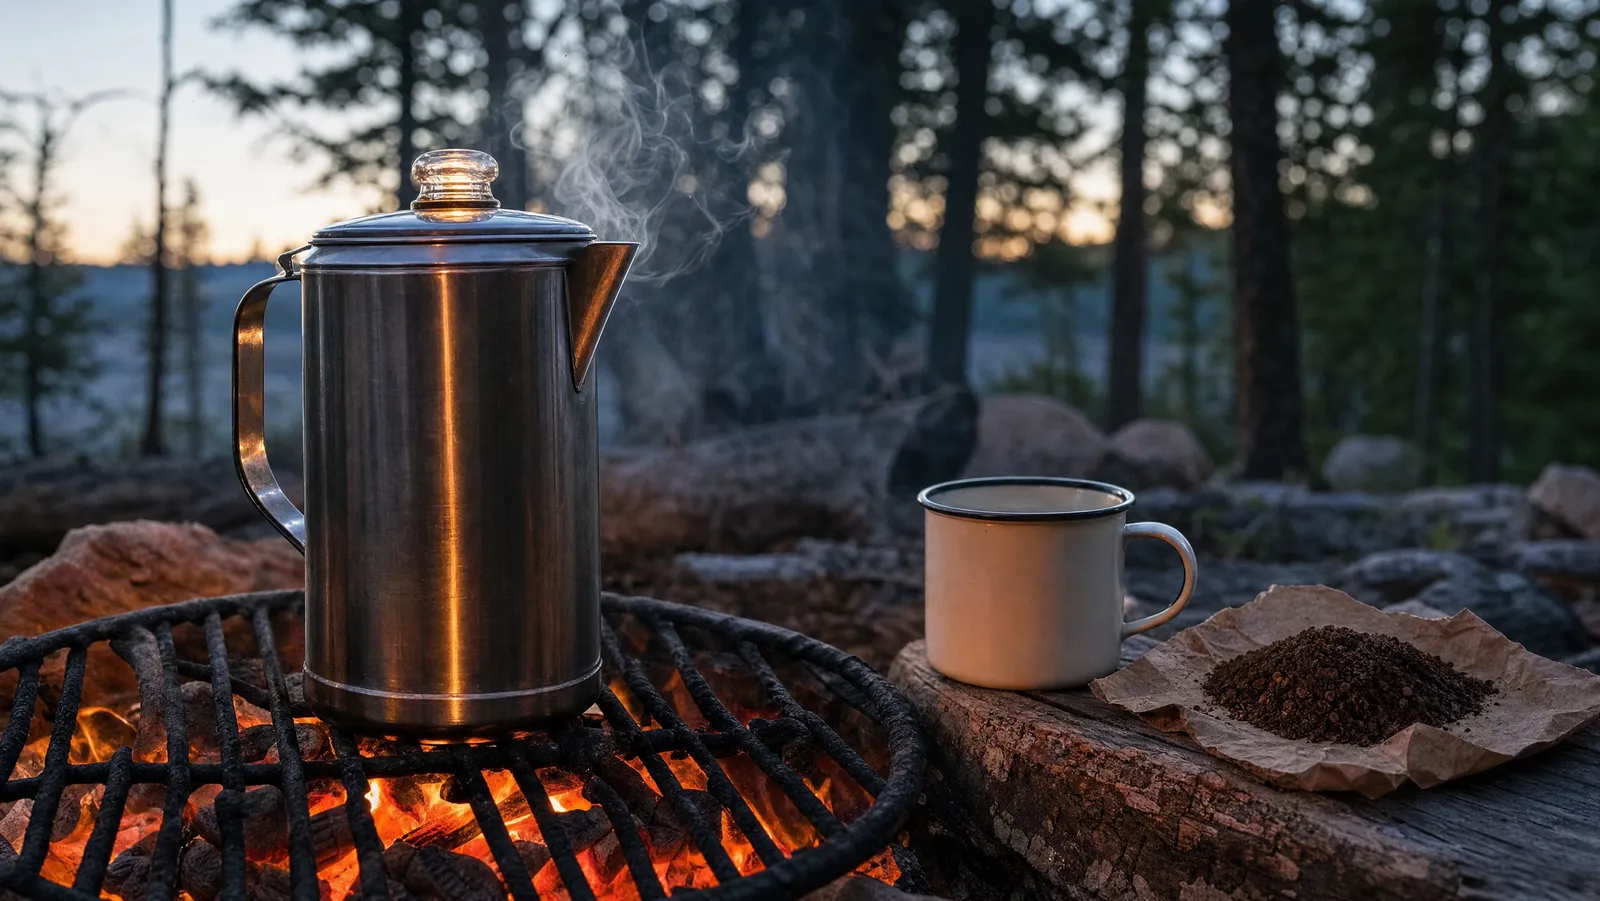
Affiliate disclosure: Sweeter Grind is a participant in the Amazon Services LLC Associates Program. We may earn commissions on qualifying purchases at no extra cost to you.
Here is how to use a camping percolator in one paragraph: fill the pot with cold water, load coarse grounds into the basket at roughly 1:16, seat the stem, heat until you see the first perk in the glass knob, then cut the heat to low and pull the pot at 5 to 7 minutes. Remove the basket immediately.
That last instruction is the one everybody skips, and it is why percolators have their reputation.
The usual verdict — "percolators make bitter coffee, that's just how they are" — is a cop-out. Bitterness in a percolator is a control problem, not a design flaw. The pot recirculates already-brewed coffee back through the grounds, so every extra minute re-extracts a bed that has already given up most of what it has. Control four things — grind, ratio, heat, and time — and a camp percolator makes a genuinely good cup.
This guide is part of our camping and travel coffee coverage. If you are still choosing a method, start with our comparison of seven ways to make coffee while camping.
How a Percolator Actually Works
A percolator is a pump with no moving parts.
Water in the shallow chamber at the base of the stem heats first. As it approaches boiling, steam bubbles form against the metal, expand, and shove a slug of water up the narrow central tube — the same gas-lift effect that drives a geyser. The water fans out through the perforated dome at the top of the stem, rains down over the grounds in the suspended basket, filters through the bed, and drips back into the reservoir. Then it does it again.
That loop is very old. According to United States Patent 408,707, "Coffee-pot," filed January 12, 1889 and granted August 13, 1889 to Hanson Goodrich of Moleansborough, Illinois, the design comprised a corrugated base plate, a telescoping central tube, and an upper cup with a perforated bottom, whose stated purpose was to create "a continuous circulation of the water."
Here is the part that matters for taste. In a drip brewer, water passes the grounds once and leaves. In a percolator, the liquid returning to the reservoir is already coffee, and it gets sent back through the same spent bed on the next cycle. Extraction keeps climbing as long as the pot is on heat.
According to the Specialty Coffee Association's Golden Cup standard, well-brewed coffee falls between 18 and 22 percent extraction yield at 1.15 to 1.35 percent total dissolved solids; above roughly 22 percent, bitter and astringent compounds take over. A percolator will sail past that ceiling if you let it. More on what is being dissolved in Coffee Extraction 101.
The job is not to fight the percolator. It is to stop it at the right moment.
What You Need
- A percolator. Stainless, enamel, or glass. Capacity is quoted in "cups," but manufacturers disagree on how big a cup is — check your pot against a measuring jug once at home. Hardware picks are in the best camping coffee makers.
- Coarse-ground coffee, ground the morning you leave or at camp. See manual vs electric coffee grinder if you are deciding what to pack.
- A heat source you can turn down. A gas camp stove is ideal; a fire works with different technique.
- A timer — your phone, a watch, or our brew timer. "Until it smells done" is how you get a bitter pot.
- Optional: a paper filter disc cut to sit in the basket. It catches fines and makes a cleaner cup.
Step-by-Step: Percolator Coffee That Isn't Bitter
Step 1: Fill the pot with cold, clean water
Fill to just below the bottom of the basket. Water should not touch the grounds while the pot comes up to temperature, or you start steeping before you start percolating.
Step 2: Measure coarse grounds into the basket
Level the bed with a spoon so water falls evenly rather than channeling through one corner. If you are using a paper disc, seat it first.
Step 3: Seat the stem and basket, then close the lid
The stem has to sit flat in its well and the basket square on the stem. A basket cocked at an angle lets the returning brew bypass the grounds on one side. The lid traps heat and steam; the pumping itself comes from steam bubbles forming in the well at the base of the stem, not from any seal.
Step 4: Bring it up on medium heat, not full blast
A hard flame drives the reservoir straight to a rolling boil, which can push water up the stem faster than the bed can absorb it. Percolator guides consistently recommend starting moderate, because most burners need a surprisingly low setting once cycling begins.
Step 5: Watch the glass knob for the first perk
The knob on the lid is your only window into the brew. When you see the first dark splash arc against it, brewing has started. Start your timer here, not when the pot went on the heat.
Step 6: Drop the heat and hold a slow, steady perk
Cut the burner the moment percolation starts. Aim for a splash every one to two seconds, not a continuous fountain. Campfire percolator guides describe the target as a slow, steady bubble; a hard rolling boil means the heat is too high. On a fire, this is when you slide the pot to a cooler part of the grate.
Step 7: Pull the pot at 5 to 7 minutes
Percolator instructions commonly give a window of four to eight minutes from the first perk. Our default is 5 minutes for a medium roast you want to taste, 7 for a dark roast or a cold morning. Past 8 minutes is where the recirculation problem stops being theoretical.
Step 8: Remove the basket and stem immediately
The highest-leverage step, and the one most people skip. Lift out the whole assembly — basket and stem — not just the basket. Saturated grounds sitting in hot coffee keep extracting long after the pot leaves the heat. Then let it settle a minute so fines drop out, and pour off the top.
The Four Variables
Grind
Coarse. Percolator guides describe the target as sea salt or raw sugar — coarse enough that particles cannot slip through the basket perforations. Fine grounds do two bad things at once: they pass into the pot and keep extracting in the cup, and they hand enormous surface area to water that will hit them repeatedly.
This is where blade grinders fail hardest, since they produce a wide spread of particle sizes and a "coarse" setting still contains plenty of dust. See burr grinder vs blade grinder and our grind size guide.
Ratio
Traditional percolator instructions call for about one heaping tablespoon per cup of water — roughly 8 ounces — and up to two tablespoons for a strong pot. That lands near 1:30, weaker than the 1:15 to 1:17 most specialty brewing uses.
We go stronger and shorter instead. A denser bed gets you concentration without the extra minutes that cause the trouble.
| Water | Coffee at ~1:16 | Approximate rounded tablespoons |
|---|---|---|
| 500 ml (17 oz) | 31 g | about 4 |
| 750 ml (25 oz) | 47 g | about 6 |
| 1 L (34 oz) | 62 g | about 8 |
| 1.5 L (51 oz) | 94 g | about 12 |
Tablespoon figures are approximate — a spoonful's mass shifts with roast level and how heaped it is, which is why a small scale earns its space on a car-camping trip. For other strengths, use our brew ratio calculator.
Heat
A percolator is the only common brewer where you manage the heat source mid-brew, and it is where camp coffee is usually lost.
According to the Specialty Coffee Association's certified home brewer requirements, brew water should reach 92°C (about 197.6°F) within the first minute of contact and never exceed 96°C (about 204.8°F). Water at a rolling boil is 212°F at sea level — over that ceiling before it reaches the grounds.
Altitude quietly helps. According to Colorado State University Extension, water boils at 212°F at sea level, 208°F at 2,000 feet, 203°F at 5,000 feet, 198°F at 7,500 feet, and 193°F at 10,000 feet. At a mountain campsite, a gentle perk sits much closer to the ideal range than the same perk at the trailhead.
Stove versus fire. A gas stove gives you a dial; a fire does not. Campfire guides recommend setting the pot on a grate rather than in the flames and moving it to a cooler zone once cycling starts. Coals are more forgiving than flames — rake a flat bed and set the pot directly on it.
Time
Five to seven minutes from the first perk, then off and basket out. If you want a stronger cup, add coffee, not minutes. Grounds raise concentration; time raises extraction, and extraction is the axis bitterness lives on.
Troubleshooting
| Symptom | Likely cause | Fix |
|---|---|---|
| Bitter, ashy, dry finish | Percolated too long, or boiled too hard | Cut to 5 minutes; drop heat at the first perk; pull the basket immediately |
| Weak and thin | Too little coffee, or grind too coarse | Move toward 1:16 by weight; go one notch finer, but no finer than sea salt |
| Sour and sharp | Pulled too early, or never cycled properly | Give it the full 5 to 7 minutes at a steady perk |
| Grounds in the cup | Grind too fine, basket overfilled, lid seated crooked | Grind coarser, add a paper disc, do not fill past the basket rim |
| Never starts perking | Heat too low, water below the stem well, stem not seated | Seat the stem flat, fill to just under the basket, raise heat until it cycles |
| Tastes burnt after sitting | Pot kept warm on the heat | Decant into an insulated bottle right after brewing |
If the coffee was stale before it met the pot, none of this helps — see how to store coffee beans for freshness.
Stainless vs Enamel vs Glass
Stainless steel is the camping default and deserves it. It survives being dropped, packed under a cooler, and set on coals. It also heats fast, so you have to be attentive at the moment percolation starts.
Enamel over steel is the speckled campfire classic. The coating is inert and easy to clean, but enamel is glass over steel: a hard knock chips it and exposes the substrate. Good for a pot that lives in a bin, less good for gear that gets thrown around.
Glass percolators let you watch the whole brew, which is genuinely useful for learning what a correct perk looks like — and they are the worst possible choice for a campsite. Learn on glass at home, take steel outside.
For camping, the real differentiator is not the material but the lid knob. A clear sight knob is what lets you time the brew; a solid metal lid leaves you guessing.
Frequently Asked Questions
How long should you percolate coffee?
Five to seven minutes, timed from the first perk in the glass knob rather than from when the pot went on the heat. Common percolator instructions give a range of four to eight minutes after percolation begins. Because the pot recirculates brewed liquid through the same grounds, every extra minute pushes extraction higher.
What grind size do you use in a camping percolator?
Coarse — percolator guides describe the target as sea salt or raw sugar. The grounds sit in a perforated metal basket with no paper filter, so anything fine enough to pass through the holes ends up in the pot and keeps extracting in your cup.
Can you use regular pre-ground coffee in a percolator?
You can, but most supermarket pre-ground is milled for drip brewers and is too fine for a percolator basket, which means sediment and a harsher cup. If it is what you have, brew toward the short end of the time range and add a paper disc. Grinding fresh at a coarse setting helps more than switching beans.
Do you need a filter in a percolator?
No. The metal basket is the filter and the design works without paper. A disc cut to fit is optional and does two things: it catches fines, and it absorbs some of the oils that give percolator coffee its heavier body. Use one for a cleaner cup, skip it if you like the texture.
Can you put a percolator directly in a campfire?
Put it on a grate over the fire or on a flat bed of coals, not in the flames. Campfire percolator guides recommend a grate rather than direct flame contact, and moving the pot to a cooler zone once cycling begins, because flames drive a hard rolling boil that over-extracts the coffee.
Why does my percolator coffee taste burnt?
Almost always heat and time, not the beans. A rolling boil at sea level runs hotter than the Specialty Coffee Association's 92°C to 96°C brewing window, and leaving the basket in the pot afterward keeps extraction going. Drop the heat at the first perk, hold a splash every one to two seconds, stop at 5 to 7 minutes, and lift the basket and stem out immediately.
The Bottom Line
A percolator is not a bad brewer. It is an unsupervised one — it keeps brewing until you make it stop, and a hot pot's default behavior is to run past the point where coffee tastes good.
Coarse grind. Roughly 1:16. Low, steady heat with a splash every second or two. Off at 5 to 7 minutes, basket out immediately. That is the whole method, and it turns the pot everybody apologizes for into a legitimately good way to make coffee for four people over a fire.
For the rest of the setup — grinders that travel, water at altitude, and what to pack for backcountry trips versus a campsite with a picnic table — see Sweeter Grind's complete camping and travel coffee guide.
Related reading
- How to Make Coffee While Camping (7 Methods Compared) — percolator versus six other approaches
- Best Camping Coffee Makers in 2026 — our hardware picks, including percolators
- Coffee Extraction 101 — why over-extraction tastes bitter
- Burr Grinder vs Blade Grinder — why grind consistency matters most here