Café-Style Coffee Drinks at Home: The Complete Guide to Syrups, Flavored Lattes and Seasonal Favorites
 Tommie Chaney·
Affiliate disclosure: Sweeter Grind is a participant in the Amazon Services LLC Associates Program. We may earn commissions on qualifying purchases at no extra cost to you.
A $6 latte is mostly milk, sugar and syrup poured over one or two shots. The syrup is the part home brewers skip.
Café-style coffee drinks at home come down to four things: a strong coffee base, milk, a sweetener that is already dissolved, and some kind of texture contrast. The sweetener is where nearly everyone loses. Fix that one layer with a jar of syrup you make in five minutes, and your drinks stop tasting like coffee with sugar stirred into it.
According to joe.coffee's State of Coffee report for Q2 2026, the national average price of a latte is $5.54, with the 75th percentile at $6.00. Take that drink apart and you get a double shot, eight to ten ounces of milk, and two or three small doses of flavored syrup. The coffee is the cheap part. The flavor layer is what you are paying for, and it is the one component home brewers never work on.
The usual order of spending goes: better beans, better grinder, better kettle, then granulated sugar that settles into a gritty layer at the bottom of the glass. That is a solved problem, and it costs about a dollar a batch.
You do not need an espresso machine for most of what follows. A moka pot, an AeroPress, a short-ratio pour over or cold brew concentrate all produce a base strong enough to survive milk. If you want the machine path anyway, The Complete Home Espresso Guide 2026 covers it end to end. If you are still choosing a brewer, start with the Complete Guide to Coffee Brewing Methods.
The Four Building Blocks of Café-Style Coffee Drinks at Home
Every drink on a café menu is a different arrangement of the same four parts. Once you see the parts, the menu stops being a list of recipes and becomes a set of dials.
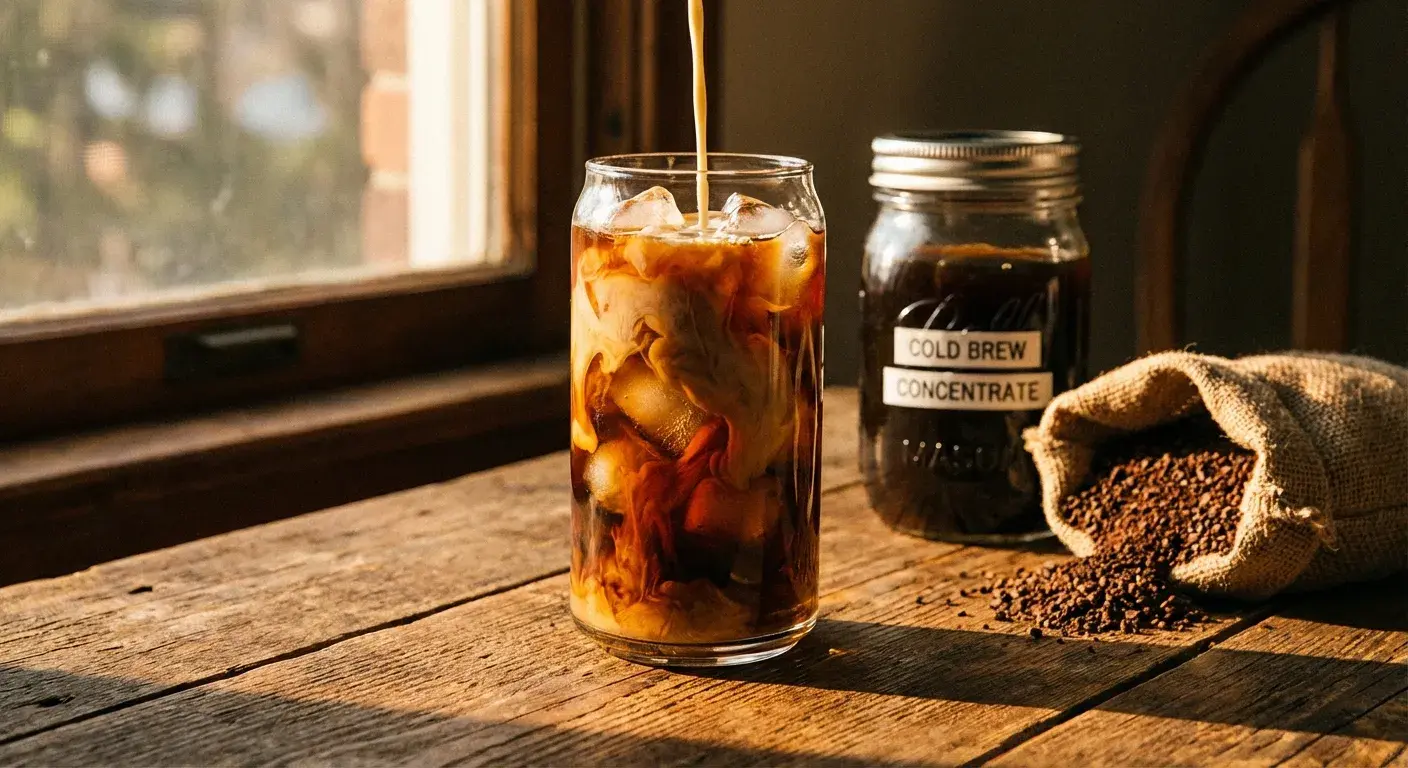
1. A concentrated coffee base. Milk and sugar both mute coffee, so the base has to be stronger than what you drink black. Espresso is one option; a moka pot, an 18 g AeroPress shot, or cold brew concentrate at 1:5 all work. Brewed-strength drip coffee under eight ounces of milk tastes like beige water.
2. Milk, hot or cold. Hot drinks need textured milk, which means air folded in before the milk gets hot, not after. Our guide to How to Steam Milk Like a Barista covers the target temperature and the stretch-then-texture sequence. Cold drinks need the opposite skill: aerated cold milk that floats.
3. A sweetener that is already in solution. This is the whole premise of this guide. Syrup, not sugar.
4. Texture and temperature contrast. Foam on top, ice underneath, a cold layer over a hot shot. Contrast is most of what makes a café drink feel like a treat instead of sweet coffee.
Here is how the common drinks map onto those four parts:
| Drink | Coffee base | Milk | Sweetener | Contrast |
|---|---|---|---|---|
| Flavored latte | Double shot or moka | 8–10 oz steamed | 15–25 g syrup | Microfoam cap |
| Iced latte | Double shot, chilled | 6–8 oz cold | 15–20 g syrup | Ice |
| Cold foam cold brew | Cold brew concentrate | 2 oz aerated nonfat | In the foam | Cold foam layer |
| Mocha | Double shot | 8 oz steamed | Cocoa syrup | Whipped cream |
Everything below is about the sweetener and contrast columns.
Start With Simple Syrup
Before any flavor, learn the base. Simple syrup is sugar dissolved in water, and it is the most useful thing in a coffee kitchen.
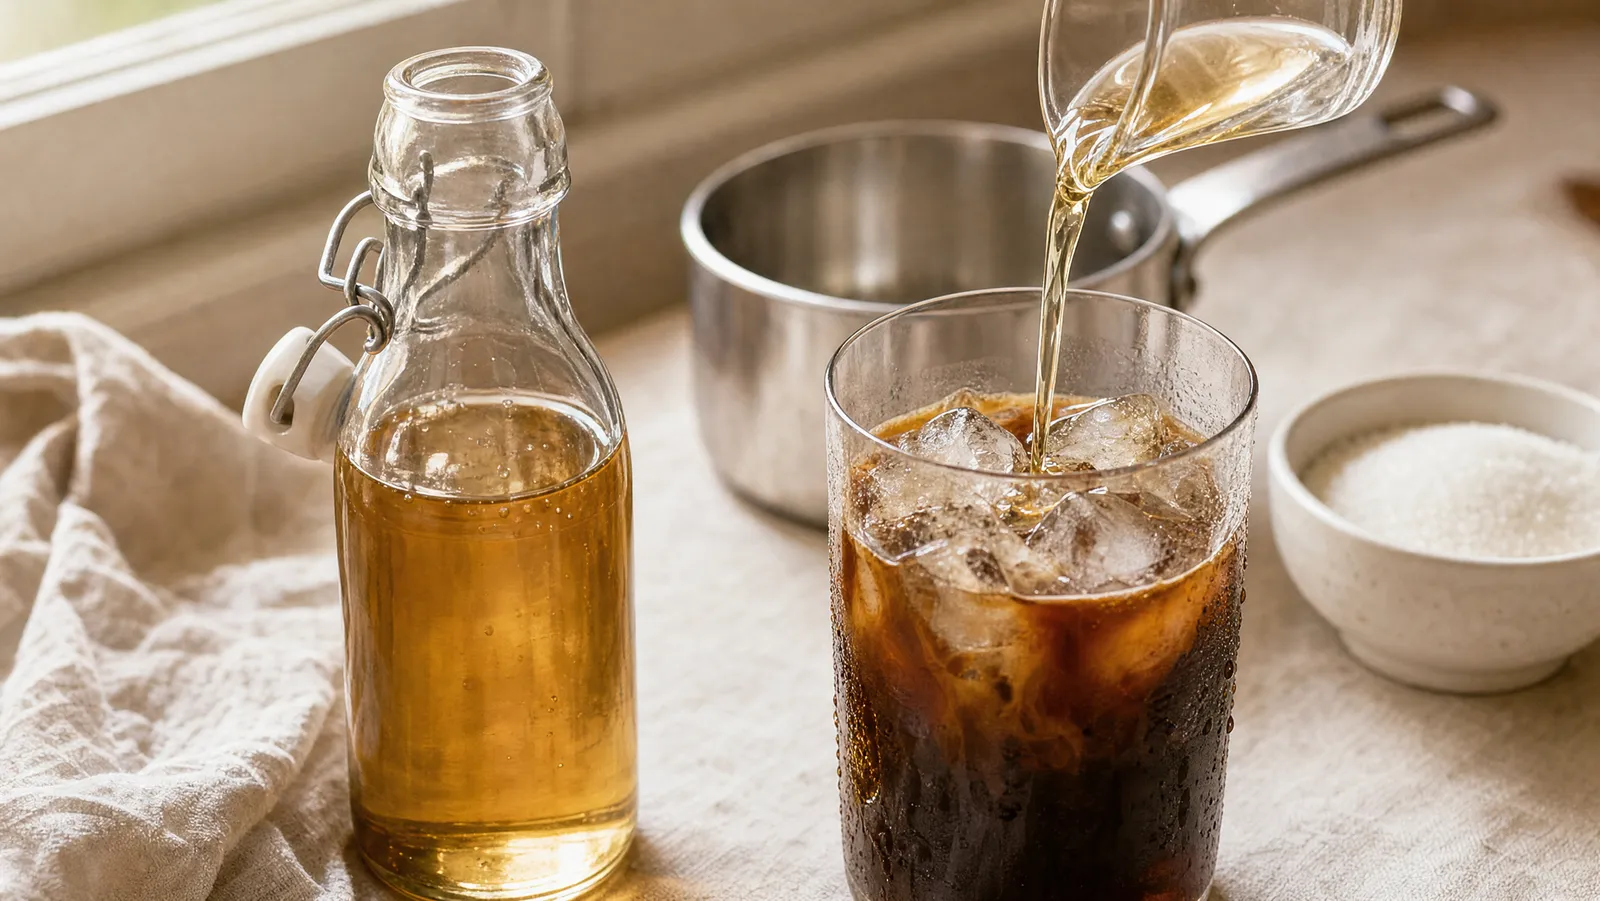
According to A Bar Above's simple syrup guide, standard simple syrup is sugar dissolved into an equal amount of water — one cup of each, so 1:1 by volume — and heating it is optional: the same guide states that sugar "dissolves beautifully in cold water just fine, it just takes a few minutes of stirring." A 1:1 syrup sits far below sucrose's solubility limit, which published solubility data puts at roughly 179 g of sucrose per 100 g of water even at 0 °C (rising to about 487 g at 100 °C). That is the mechanism behind everything in this article: in syrup, the sugar is already dissolved, so the drink cannot un-dissolve it.
Our working method for simple syrup for coffee is weight-based, because volume measures of sugar vary with how hard you pack the cup. Combine 200 g sugar and 200 g water, warm over medium heat while stirring, and pull it off as soon as the liquid goes from cloudy to clear. Do not boil it. Boiling drives off water, which pushes the concentration up unpredictably and leaves the syrup prone to crystallizing in the fridge.
Rich syrup is the better default for coffee. A 2:1 syrup, 400 g sugar to 200 g water, is thicker, sweeter per gram, and keeps longer. According to Feast and West's storage guide, a 2:1 syrup in an airtight container in the refrigerator can last up to six months, while a 1:1 syrup typically lasts about a month, because the extra sugar acts as a preservative. The same guide notes that about a quarter ounce of vodka or lemon juice per cup extends shelf life further.
The consequence: with 2:1 you add less liquid for the same sweetness, so an iced latte stays an iced latte instead of sugar water with coffee in it.
What goes wrong. Undissolved sugar left on the pan bottom seeds crystals later. A jar that was not washed and dried properly shortens any batch. And a 750 ml bottle you will not finish in a month gets poured down the sink. Make 250 ml at a time.
DIY Syrup Recipes Worth Making
Once the base works, flavor is an infusion problem. There are two techniques, and knowing which one a flavor needs is the skill.
Simmer-in for hard, dry aromatics: cinnamon sticks, cloves, star anise, cacao nibs, dried ginger, citrus peel. These need heat and time to give anything up. Add them at the start, warm until the sugar clears, then take the pan off the heat and steep as it cools.
Steep-off-heat for anything volatile: vanilla, lavender, mint, cardamom, extracts, zest. Heat destroys the top notes you are paying for. Make plain syrup, kill the heat, add the aromatic, and cover the pan for 20 to 30 minutes before straining.
The homemade coffee syrup recipes below are the ones we keep making, in the order we would learn them. All assume a 200 g sugar / 200 g water base, strained through fine mesh into a clean jar.
| Syrup | Add | When | Steep |
|---|---|---|---|
| Vanilla | 1 split vanilla bean, or 1 tsp extract | Off heat | 30 min (bean), 1 min (extract) |
| Brown sugar | Swap white sugar for dark brown | At the start | None |
| Cinnamon | 2 cinnamon sticks, broken | At the start | 30 min off heat |
| Mocha | 40 g cocoa powder, whisked in | At the start | Whisk until no lumps |
| Honey-lavender | 1 tsp culinary lavender, honey for half the sugar | Off heat | 20 min, strain hard |
| Toasted coconut | 60 g unsweetened coconut, toasted dry first | At the start | 30 min off heat |
Vanilla first, always. A syrup made with a real split bean beats the bottled version, and vanilla improves drinks that are not even flavored drinks.
Brown sugar is the cheapest upgrade. No infusion, no straining, no extra ingredient. The molasses gives you caramel and toffee notes for free, and brown sugar syrup is the backbone of the shaken iced espresso style of drink.
Caramel is the exception we would skip. Real caramel syrup means taking sugar to a dry caramel, then adding water to hot sugar, which spits violently. The bottled version is close enough.
Store-Bought Syrups: What's Worth Buying
Making your own is better for some flavors and worse for others. Be honest about which is which.
According to Roasty Coffee's Monin versus Torani comparison, Monin was founded in 1912 by Georges Monin in Bourges, France, and shifted from cordials to syrups in 1945 under his son Paul; Difford's Guide puts the company's current range at more than 150 flavours, sold in over 140 countries. The same Roasty comparison traces Torani's line to 1925, when Rinaldo and Ezilda Torre began making syrups from recipes that originated in Lucca, Italy, and says the focus switched to coffee syrups in 1982, when vanilla syrup gained momentum with the first flavored latte. Roasty counts about 150 flavor options in Torani's coffee syrup range today.
Buy, do not make: anything whose raw ingredient is expensive, seasonal, or hard to extract at home. Pistachio, hazelnut, Irish cream, pumpkin spice, macadamia, white chocolate and most nut flavors. A nut syrup made at home tastes faintly of nut. A commercial one tastes like the café, because it uses concentrated flavor compounds you cannot buy in a grocery store.
Make, do not buy: vanilla, brown sugar, cinnamon, simple, mocha, ginger, citrus, mint. A sugar base plus one ingredient you already own.
When people ask which are the best coffee syrups, the honest answer is that brand matters less than format. Watch two things:
- Syrup versus sauce. As Tasting Table's explainer of the difference puts it, sauces are thicker and often contain dairy, while syrups are thinner and dairy-free. Sauces are built to be stirred into hot milk drinks, not shaken into iced coffee, where they can leave clumps at the bottom.
- Bottle size. A 750 ml bottle of a flavor you use twice a month will outlive your interest in it. Buy the smallest size of anything you have not committed to.
Not worth buying: flavored liquid creamers as a syrup substitute. They sweeten, flavor and dilute at once, which removes all three dials together.
Cold Foam, the Café Trick Most People Skip
Cold foam is the clearest example of a café technique that costs nothing and almost nobody replicates at home. It is also the fastest way to make an iced drink feel bought rather than poured.
According to Ovalware's cold foam guide, cold foam is cold milk frothed without any heat — "the milk proteins still trap air when agitated, just at cold temperature" — which is why the result is "stable enough to float on top of a cold drink without collapsing" rather than melting in the way warm foam does. The same guide notes that the original Starbucks version uses nonfat milk. The reason it has to be nonfat comes down to what competes for the surface of an air bubble: according to Nutri's breakdown of Starbucks cold foam, the high protein and low fat content of skim milk is what lets it form a stable, thick, meringue-like foam when aerated, because fat globules compete with milk proteins for space at each bubble's surface and destabilize the bubble when they wedge in.
That mechanism explains the usual failure: people try whole milk, get a thin layer of large bubbles that collapses in 30 seconds, and conclude the technique does not work at home.
How we make cold foam at home. Put 60 ml of cold skim milk in a tall narrow vessel, add 10 g of syrup, and run a handheld milk frother just under the surface until the volume roughly doubles and the surface turns matte rather than bubbly. Stop there. Keep going and you are making whipped cream, which sinks in clumps. No frother? A French press works: pour in the cold milk, then plunge fast 30 to 40 times.
Three variations worth knowing:
- Sweet cream cold foam. Replace a third of the skim milk with heavy cream. Richer, slightly less stable, much closer to what a chain café serves.
- Flavored cold foam. Put the syrup in the foam instead of the drink. The sweetness arrives on the first sip rather than evenly distributed, which reads as more intense for the same sugar.
- Protein cold foam. According to Starbucks, its Protein Cold Foam is made by baristas blending in a protein powder whose only two ingredients are unflavored whey protein isolate and sunflower-derived lecithin; Food Network reports the foam adds around 15 g of protein to a drink. Unflavored whey is the operative detail if you try it at home — a sweetened, vanilla-flavored powder changes the sugar dose too.
For the hot-drink equivalent of this skill, our How to Steam Milk Like a Barista guide covers microfoam.
Seasonal and Holiday Drinks
Seasonal drinks are the commercial heart of the café business, and they are nearly all a latte plus one syrup and one topping.
The scale is worth knowing. According to Starbucks' own account, the drink was first tested in October 2003 in about 100 stores in Vancouver, British Columbia, and Washington, D.C. — not Washington state — and Wikipedia's entry records the rollout to all U.S. locations the following year. Fox Business reports it is the chain's most popular seasonal beverage, with hundreds of millions sold since launch, and Wikipedia cites CNBC's 2019 figure of around 424 million in worldwide sales. One syrup, one topping, 20-plus years of autumn.
Reproducing holiday coffee drinks at home is mostly about building the right syrup in advance, because the last thing you want on a December morning is an infusion project.
| Season | Syrup to build | Drink | Topping |
|---|---|---|---|
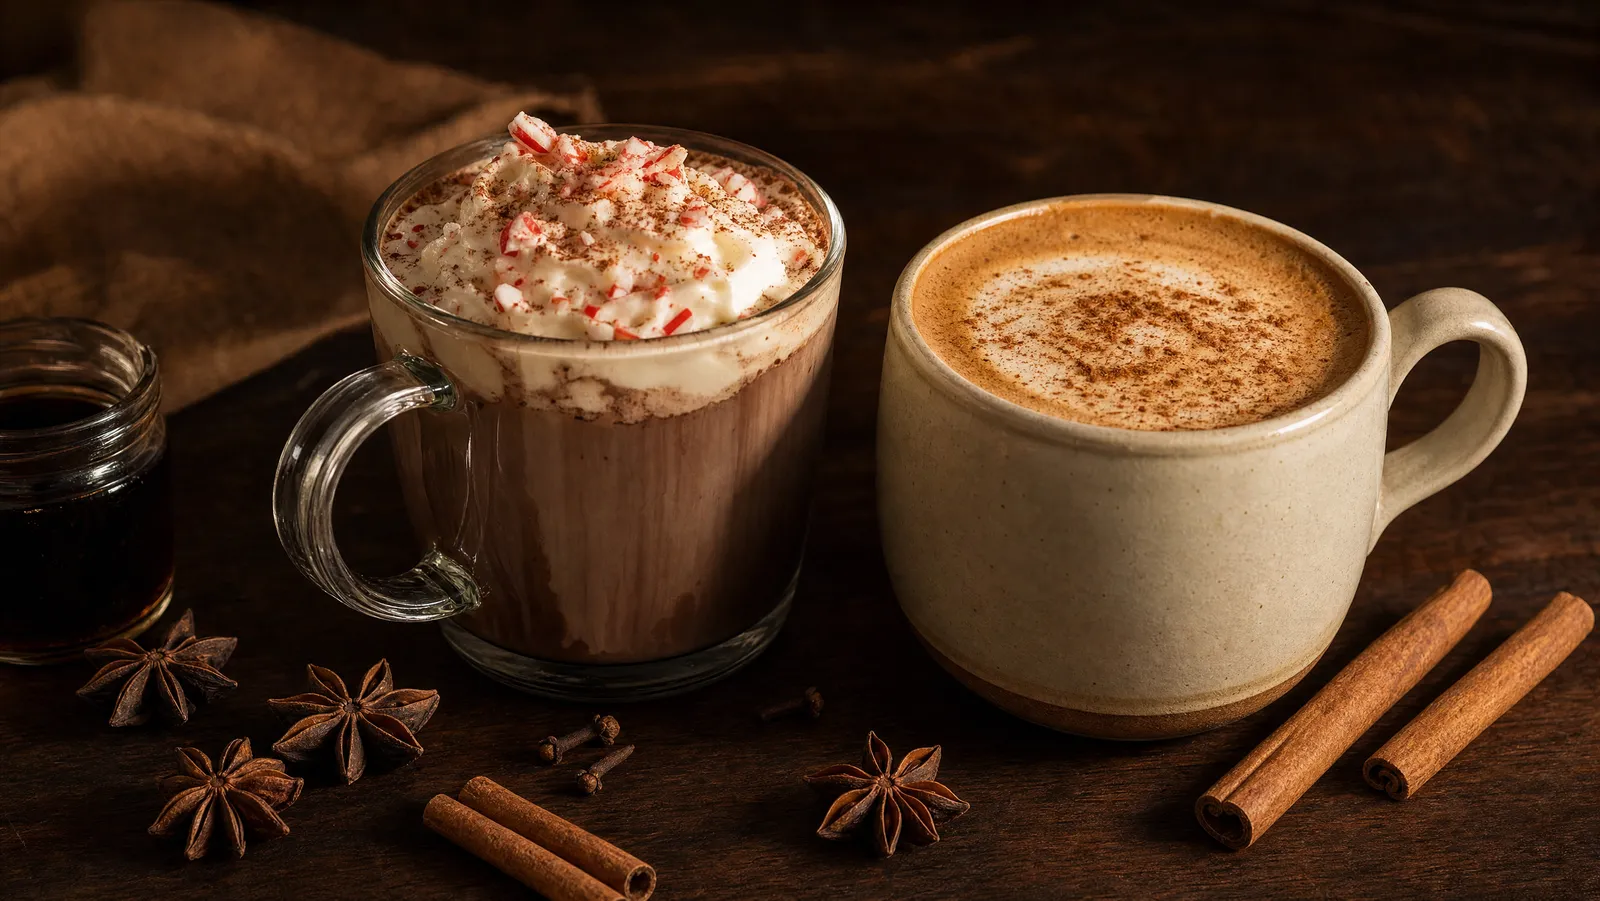
| Autumn | Pumpkin spice (cinnamon, ginger, clove, nutmeg) | Latte, hot or iced | Cinnamon, whipped cream |
| Winter | Peppermint, added off heat | Peppermint mocha | Shaved chocolate |
| Winter | Gingerbread (fresh ginger, molasses, cinnamon) | Latte | Cold foam |
| Spring | Honey-lavender | Cortado or iced latte | None |
| Summer | Brown sugar | Shaken iced espresso | Oat milk float |
The pumpkin trap. Recipes that call for puréed pumpkin clog every pump and sieve they touch, and the solids settle in the bottle. We build the spice blend into the syrup, strain it through fine mesh, and get the pumpkin character from the spices rather than the squash.
Peppermint goes in off heat. Mint is volatile. Simmer it and you get a flat, vegetal sweetness instead of the sharp top note that makes a peppermint mocha work.
Batch before the guests arrive. A 250 ml bottle at 15 to 20 g per drink covers 12 to 16 drinks. Brew a large cold brew or a thermos of strong coffee, set out milk and syrup, and the drinks assemble themselves.
Sweetening Cold Coffee Without the Grit
This is the most common failure in home coffee, and it has a clean explanation — though not the one usually given. Sucrose is not short of solubility in cold water: published solubility data puts it at roughly 179 g per 100 g of water at 0 °C. What collapses in the cold is the rate. A Bar Above's simple syrup guide gives the practical scale of that: boiling water dissolves sugar in about 10 to 15 seconds, warm tap water takes 45 seconds to a minute, and cold water needs a few minutes of stirring. Drop granulated sugar into iced coffee, stir twice and drink, and most of it has not had time to dissolve: it sinks, the drink tastes thin, and the last inch is syrupy sludge.
The fix is to never ask cold coffee to do the dissolving. Options, best to worst:
- Simple syrup, 1:1 or 2:1. Already in solution. Mixes with one stir. Dose by weight and the drink is repeatable.
- Warm-dissolve, then chill. Dissolve the sugar into a splash of hot water or hot espresso before the ice goes in. Works when you have no syrup made.
- Sweetened condensed milk. Sweetener and dairy in one, and the basis of Vietnamese-style iced coffee. Stir it into the hot coffee first or it sits at the bottom as a solid layer.
- Honey, agave or maple. All liquid, all mix in cold, all carry strong flavors of their own. Thin honey with an equal weight of warm water first; undiluted honey ropes rather than disperses.
- Granulated sugar. The thing to stop doing.
When we sweeten iced coffee, we start at 15 g of 2:1 syrup in a 12 oz drink and adjust from there. Write down what you used. Two cups into the experiment, nobody remembers.
Dilution is the other half of the problem. Ice melt plus syrup plus milk can take a strong base down to weak-drip strength by the time you drink it. Build the base stronger than feels right, or brew over ice so the melt is part of the recipe. Our How to Make Cold Brew Coffee at Home guide covers concentrate ratios, and the Brew Ratio Calculator handles the arithmetic when you scale up for a group.
Sugar-Free and Low-Calorie Options
Sugar-free syrups are a real option with real trade-offs, and the trade-offs are about taste and texture rather than anything we are qualified to say about nutrition.
Start with sweetening power, because the substitution is not one for one. According to Wholesome Yum's low-carb sweetener guide, allulose and erythritol are both about 70 percent as sweet as sugar, while pure monk fruit extract is about 150 to 400 times sweeter than sugar, which is why monk fruit is almost always sold blended with a bulking sweetener rather than on its own.
Then taste. The same guide notes that erythritol "may show a mild cooling effect, similar to mint," while allulose does not, and that stevia's signature flaw is different — "a bitter aftertaste, especially in its pure form" — with monk fruit carrying less of that bitterness. In a peppermint mocha erythritol's cooling effect is invisible. In a vanilla latte it is the first thing you notice. Bear in mind that most monk fruit products are blends built on erythritol, so they inherit the cooling.
| Sweetener | Sweetness vs sugar | Cooling effect | Notes for syrup |
|---|---|---|---|
| Allulose | ~70% | No | Closest to sugar in taste; use more by weight |
| Erythritol | ~70% | Yes | Prone to recrystallizing in cold syrup |
| Monk fruit extract | ~150–400x | Not reported on its own | Nearly always sold in a blend; erythritol blends cool |
| Stevia | Very high | Not reported | Bitter aftertaste, especially in pure form |
Two practical points. First, commercial sugar-free coffee syrups are the easy path, and the ranges are reasonably deep: according to Coffee Nerds' syrup comparison, Monin lists over 30 flavours without added sugar and Torani around 20. Note that the sweetener in the bottle is usually not one of the four above — the same comparison says Monin's no-sugar range is sweetened with sucralose, and Torani's own sugar-free product pages list sucralose as well, so if you are avoiding artificial sweeteners specifically, read the label rather than the front of the bottle. Second, if you make your own, treat the batches as short-lived. The keeping quality of a traditional syrup comes from its sugar concentration, as Feast and West's storage guide notes when explaining why 2:1 outlasts 1:1, and a syrup built without sucrose does not get that benefit. We make 125 ml at a time and keep it refrigerated.
Texture is the hidden cost. Sugar adds body, not just sweetness. A sugar-free vanilla latte tastes sweet but thinner, and the fix is to lean on the milk: whole milk or a barista-formulated oat milk restores some of that weight.
Flavored Beans vs. Syrups
Flavored beans look like a shortcut to the same destination. They are not, and the reason is in how they are made.
According to the technical guide published by Coffee Flavor Oils, flavoring happens after roasting, in the order "Roast / Cool / Optional Grind / Flavor / Rest / Package" — never during the roast, where the heat would destroy the volatile compounds. That guide's own dose for whole beans is 10 to 12 mL of flavor per pound (roughly 2 to 3 percent of bean weight), applied in glass or stainless steel equipment, with 2 to 5 minutes of mixing or tumbling until the flavor is evenly distributed and then 12 to 24 hours of rest before packaging so it spreads through the batch. Other trade descriptions of the same process put the tumbling at 15 to 30 minutes, so treat the timing as varying by operation. The carrier matters more than the timing: Coffee Flavor Oils states that most coffee bean flavor oils use food-grade, USP-grade propylene glycol as the carrier for the concentrated flavor compounds, and other trade sources list water, alcohol and fractionated vegetable oils as alternatives.
Nothing there is alarming. It is a coating, and that fact drives every practical difference. The flavored coffee beans vs syrups decision comes down to four things:
- Commitment. A flavored bag flavors every cup you brew from it. A syrup bottle flavors the one cup you put it in. If two people in a household want different drinks, syrup wins outright.
- Dose control. You cannot make a flavored bean 30 percent less hazelnut. You can measure 10 g of syrup instead of 20 g.
- Equipment residue. Surface oils transfer to grinder burrs, hoppers and brew baskets, and the next few brews carry a ghost of the flavor. That matters if you own one grinder.
- Bean quality. Flavoring covers a lot, and a heavy coating is a convenient place to hide beans that would not sell on their own merits.
When flavored beans are the right call. A big batch of drip for a crowd, a decaf for the evening, or a household that genuinely wants hazelnut coffee every morning. There, convenience is the point.
For everyone else, the better path is good unflavored coffee plus a syrup, which also means you can taste what the coffee is doing. The Ultimate Guide to Coffee Beans and Roasts covers how to pick that base.
Building a Home Syrup Bar
The point of a home coffee syrup bar is not variety for its own sake. It is making the right drink take 30 seconds instead of a decision.
The kit. Three or four 250 ml swing-top or squeeze bottles, a fine mesh strainer, a small funnel, a scale that reads in 1 g increments, and masking tape for labels. Most of that is already in a kitchen that makes coffee seriously.
The rotation. Two permanent syrups plus one seasonal. Our pair is vanilla and brown sugar, which between them cover latte, iced latte, cold brew and shaken espresso. The third slot rotates: cinnamon in autumn, peppermint in December, honey-lavender in spring. Anything beyond three bottles goes stale before it gets used.
The math. A 250 ml batch of 2:1 syrup at 15 to 20 g per drink is 12 to 16 drinks. For two people making one flavored drink a day, that is about a week. Scale the batch to the week, not to the bottle you happen to own.
Label everything with the date. This is the rule that makes the rest work. According to Feast and West's storage guide, refrigerated 2:1 syrup can keep up to six months while 1:1 keeps about a month, a gap wide enough that guessing is useless. Write the date and the ratio on the tape.
What not to buy. Pumps for syrups you make yourself, unless you serve more than two people regularly: they are one more thing to clean and they clog on anything with particulate. Giant bottles of novelty flavors. Branded syrup racks. Single-serve flavor pods, which cost more per drink than anything else here and remove the dose control that was the point.
Set the bottles next to the grinder, not in the back of the fridge door. Visible syrup gets used.
Pairing Syrups With Your Coffee
The last skill is knowing which syrup belongs with which coffee, and it is simpler than it sounds. The whole of syrup and coffee flavor pairing comes down to two moves: match the coffee's existing notes, or deliberately contrast them.
Matching amplifies what the coffee already does. A Guatemalan or Colombian with chocolate and nut notes gets more of itself from brown sugar or mocha. A natural-process Ethiopian with berry and floral character leans further that way with honey-lavender or orange peel.
Contrasting supplies what the coffee lacks. A flat, heavy dark roast gets lift from peppermint or citrus. A thin, bright light roast gets body from vanilla or brown sugar.
| Coffee | Character | Match with | Contrast with |
|---|---|---|---|
| Light African (Ethiopia, Kenya) | Floral, berry, citrus, high acidity | Honey-lavender, orange | Vanilla, coconut |
| Medium Latin American | Chocolate, caramel, nut, balanced | Brown sugar, vanilla, mocha | Cinnamon, citrus |
| Dark roast, espresso blends | Bittersweet, roasty, heavy | Mocha, hazelnut, caramel | Peppermint, ginger |
| Indonesian, Sumatra | Earthy, herbal, syrupy body | Cinnamon, cardamom | Vanilla |
| Decaf, any origin | Softer, less aromatic | Vanilla, brown sugar | Spice blends |
Two rules we follow. Do not flavor your best coffee. A $24 microlot bought for its jasmine and apricot notes should be brewed black; put the syrup in the $12 bag you keep for milk drinks. One syrup at a time until you know it. Stacking vanilla, caramel and cinnamon in the same cup produces a generic sweetness that tastes like a chain café's worst drink, and you lose track of what each one contributed.
Grind and brew still matter underneath all this. A syrup cannot fix a sour, under-extracted base; it makes it sour and sweet.
Coffee Shop Drinks at Home: Where to Start
Nothing here requires new equipment, and the whole sequence fits in a week.
- Today. Make 250 ml of 2:1 simple syrup. Sugar, water, medium heat, off as soon as it clears. Label it.
- Tomorrow. Make an iced latte or iced cold brew with 15 g of that syrup instead of granulated sugar. Note the dose.
- This week. Make a vanilla syrup with one split bean, steeped off heat. Compare it against a bottled vanilla.
- This week. Try cold foam once with skim milk and a handheld frother. Stop when the surface goes matte.
- Next week. Add one seasonal syrup and one bought syrup for a flavor you cannot make at home.
That is the entire flavor layer of a café, built for the cost of two drinks.
Frequently Asked Questions
Do I need an espresso machine to make café-style drinks at home?
No. What you need is a concentrated base, and several brewers produce one: a moka pot, an AeroPress at a short ratio, cold brew concentrate, or a small-volume pour over. Espresso has more body and a thicker crema, which matters for a cortado, but under syrup and eight ounces of milk the difference narrows. Choose your brewer from the Complete Guide to Coffee Brewing Methods, then add milk and syrup.
How much syrup goes in a latte?
We start at 15 g of 2:1 syrup for a 12 oz drink and weigh it rather than eyeballing it, because repeatability is the point of having syrup at all. Thinner 1:1 syrup needs roughly twice the volume for the same sweetness, which adds twice the water. If your iced coffee tastes watery, suspect the syrup ratio before the coffee.
How long does homemade coffee syrup last?
According to Feast and West's storage guide, a 2:1 sugar-to-water syrup kept in an airtight container in the refrigerator can last up to six months, while a 1:1 syrup typically keeps about a month, since the higher sugar content acts as a preservative. The same guide notes that about a quarter ounce of vodka or lemon juice per cup extends shelf life further. Syrups containing dairy or fresh fruit are a different category and should be treated as short-lived. Label every bottle with its date and ratio.
Why won't sugar dissolve in my iced coffee?
Because the speed of dissolution depends on temperature, not because cold coffee cannot hold the sugar — published solubility data has sucrose dissolving at roughly 179 g per 100 g of water even at 0 °C. According to A Bar Above's simple syrup guide, boiling water dissolves sugar in 10 to 15 seconds while cold water needs a few minutes of stirring, so granulated sugar dropped into an iced drink and stirred briefly settles before it has dissolved. Pre-dissolving the sugar as a syrup removes the problem. If you have no syrup made, dissolve the sugar into hot coffee or a splash of hot water before the ice goes in.
What is cold foam and why doesn't mine hold up?
Cold foam is cold milk aerated without steam or heat, so it is stable enough to float on an iced drink rather than melting into it, as Ovalware's cold foam guide describes. Most home attempts fail on the milk: according to Nutri's breakdown of Starbucks cold foam, the high protein and low fat content of nonfat milk is what produces a stable, meringue-like foam, because fat globules compete with milk proteins at the surface of each air bubble. Use skim, stop when the surface turns matte, and pour over a full glass so it has somewhere to sit.
Explore the full series
- How to Make Simple Syrup for Coffee (Ratios, Shelf Life, and Why Yours Crystallizes) — The 1:1 and 2:1 ratios, how long syrup actually keeps, and the fixes for crystallizing and cloudy syrup.
- 8 Holiday Coffee Drinks You Can Make at Home (Peppermint Mocha, Gingerbread Latte and More) — Eight café holiday drinks with home ratios — and the syrups that actually carry the flavor.