How to Make Coffee While Camping (7 Methods Compared)
 Tommie Chaney··Updated
Affiliate disclosure: Sweeter Grind is a participant in the Amazon Services LLC Associates Program. We may earn commissions on qualifying purchases at no extra cost to you.
There are seven realistic ways to make coffee while camping. The short answer: AeroPress or a collapsible pour-over for backpacking, French press or percolator for car camping, instant when every gram counts, and cowboy coffee when your gear fails. What separates them is weight, cleanup, and how much you care about the cup.
Here is what nobody tells you before your first trip: most camp coffee is bad for two fixable reasons — the water is far too hot, and the grounds never get filtered. Nearly every method below answers those same two problems differently.
This is the how-to half of our camping and travel coffee setup coverage. If you already know your method and just need hardware, jump to the best camping coffee makers.
Camping Coffee Methods Compared
| Method | Weight/Packability | Gear needed | Brew time | Best for |
|---|---|---|---|---|
| Percolator | Heavy, rigid, bulky | Percolator, fire or stove | 7–10 min | Car camping, groups |
| French press | Bulky; insulated steel beats glass | Press, pot, heat source | 4 min steep | Car camping, 2–4 drinkers |
| AeroPress | Compact; nests in a mug | AeroPress, filters, heat source | 1–2 min | Backpacking, solo drinkers |
| Collapsible pour-over | Packs nearly flat | Dripper, filters, pot with a lip | 3–4 min | Backpackers wanting a clean cup |
| Instant and drip bags | Lightest by far | Hot water only | ~1 min | Ultralight trips, backups |
| Cowboy coffee | Zero extra gear | A pot and a heat source | ~8 min | Minimalists, gear failures |
| Moka pot | Heavy, rigid, awkward | Moka pot, stove with small burner | 4–6 min | Car campers who drink espresso |
Fix the Water Temperature First (Especially at Altitude)
This is the highest-leverage change you can make, and it is free.
According to the Specialty Coffee Association's certified home brewer requirements, brew water should reach 92°C (about 197.6°F) within the first minute of contact and never exceed 96°C (about 204.8°F). At sea level, water off a rolling boil is 212°F — well above that ceiling. Pour it straight onto grounds and you get the harsh, ashy edge people blame on "camp coffee" when it is really just scorched extraction.
Altitude changes the math in your favor. According to Colorado State University Extension, water boils at 212°F at sea level, 203°F at 5,000 feet, 198°F at 7,500 feet, and 193°F at 10,000 feet. Read those two facts together and a rule falls out:
- Near sea level: let the pot stand 30–60 seconds off the heat before pouring. That pause drops you into the window.
- Around 5,000–7,500 feet: a rolling boil lands close to or inside the target range. Pour it fresh.
- Above about 8,000 feet: your boiling water is already below the ideal range and cannot be made hotter. Compensate with time and grind — steep longer, grind finer, accept a softer cup.
That last point is why immersion methods outperform pour-over at high camps. When you cannot raise the temperature, contact time does the work instead.
Grind at Home, Not at Camp
Grinding at camp is romantic and slow. Grind one trip's worth the morning you leave and seal it in a small airtight container — our guide to how to store coffee beans for freshness covers the trade-off. Bring a hand grinder only if you are car camping.
Grind size matters more than almost anything else you pack: coarse for percolator, French press, and cowboy coffee; medium for pour-over and drip bags; medium-fine for AeroPress and moka pot. Our grind size guide shows what those look like.
1. Percolator (the Camp Classic)
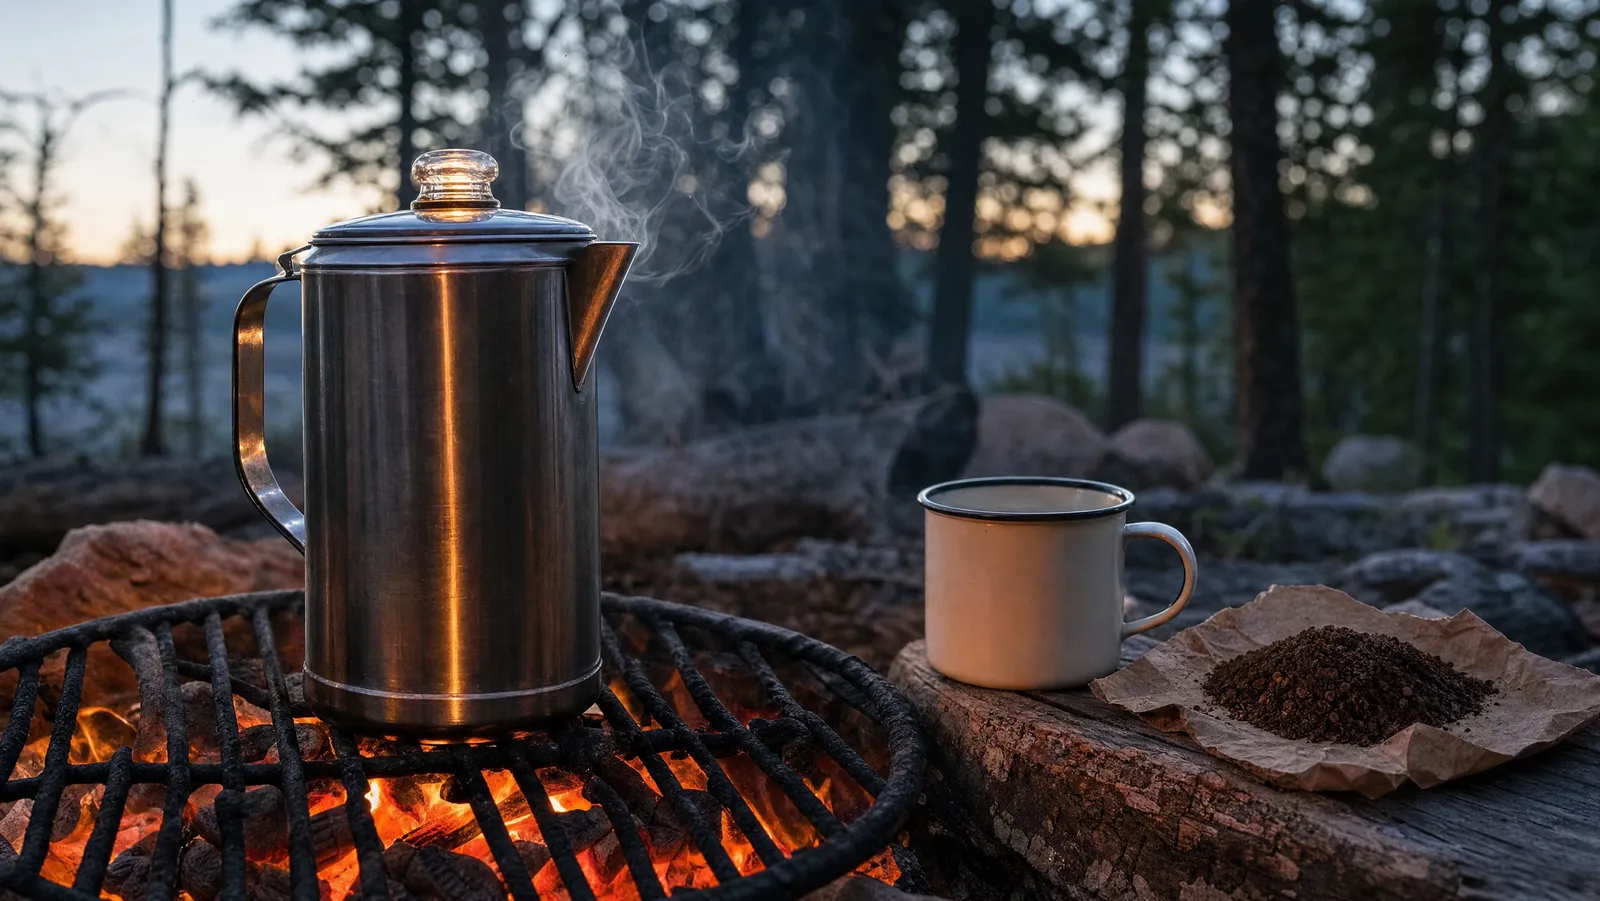
How it works. A percolator cycles boiling water up a central tube and showers it back over a basket of grounds, repeatedly. It is the only common method that deliberately re-brews the same water — hence its reputation for bitterness, and its near-immunity to an unpredictable campfire.
Packability. Heavy, rigid, bulky. Stainless takes flame and abuse better than enamel. Car-camping gear.
The recipe. Coarse grind, roughly one heaping tablespoon per 6 oz cup. Pull it off the heat once percolation is running steadily — around 7–10 minutes over moderate coals. The mistake is letting it perk hard for fifteen minutes because the sound is satisfying. Watch the knob: a lazy amber cycle, not a violent one.
Who it is for. Groups and campfire cooks who want a full pot ready while breakfast is on the grate. We cover how to use a camping percolator in a dedicated piece.
2. French Press (Car Camping, Insulated Models)
How it works. Full immersion, metal mesh filter, no paper. The mesh leaves oils and fine solids in the cup, which reads as body and richness — welcome when you are drinking outside in cold air.
Packability. Bulky, and glass has no business in a packed car. An insulated stainless press survives the trip and holds heat long enough that the second cup is worth drinking.
The recipe. Roughly 1:15 to 1:16 by weight — say 60g of coarse coffee to 900ml of water. Off the boil, wait, pour, stir the crust at 30 seconds, cap, plunge at four minutes. Then decant immediately; coffee left on the grounds keeps extracting and turns bitter before you come back for seconds. Our full French press method works unchanged outdoors, and the brew ratio calculator will size any batch before you leave.
Who it is for. Two to four people at a drive-in site who want the best cup-to-effort ratio available.
3. AeroPress (Backpacking)
How it works. Steep in a chamber, then press through a paper filter by hand. Short contact time, hard filtration, almost no sediment.
Packability. Compact, near-unbreakable, and it nests inside most mugs and many cook pots. Filters weigh nothing. There are two versions worth knowing about before you pack one — we compare the AeroPress Go and the original on capacity and packed size.
The recipe. A solid camp standard is 15–17g of medium-fine coffee to 220–250ml of water, steeped about 1:00–1:30, then pressed slowly over 20–30 seconds. At altitude, where your water tops out cooler, push the steep toward two minutes. Our AeroPress recipes and techniques guide has six starting points, several of which travel well.
Cleanup is the real argument. Pop the puck out, wipe the seal, done. No slurry to deal with.
Who it is for. Backpackers and solo drinkers who want one clean cup rather than a shared pot.
4. Pour-Over With a Collapsible Dripper
How it works. Same as at home — water passes once through a bed of grounds and a paper filter. The cleanest cup here, and the least forgiving.
Packability. Collapsible silicone and folding stainless drippers pack nearly flat. Paper filters are weightless but crushable, so sleeve them.
The recipe. 1:16 to 1:17 — say 20g of medium grind to 320ml of water. Bloom with about double the coffee weight in water for 30–45 seconds, then pour in slow additions to finish around 3:00–3:30. The technique in how to make perfect pour over coffee is exactly what you want here.
The catch. Pour-over needs a controlled stream and stable water temperature, and camp gives you neither. Brew in the lee of a rock or your pack, use a pot with a real pouring lip, and pre-warm the mug. It is also the method most punished by altitude.
Who it is for. Backpackers who want clarity and will spend four attentive minutes on it.
5. Instant Coffee and Drip Bags (Ultralight)
How it works. Instant is soluble coffee — add hot water and stir. Drip bags are single-serve pour-overs in a paper pouch that hangs on your mug rim.
Packability. Nothing else comes close. Flat sachets, no hardware, no cleanup, no grounds to pack out.
The recipe. For instant, start with the sachet instructions and adjust — the fix for weak instant is less water, not more powder. For drip bags, tear, hang, and pour in two or three slow additions over about two minutes so the bag never overflows.
The honest assessment. Specialty instant is genuinely drinkable now, but it is a different product from freshly ground coffee, not a substitute. Drip bags land closer to real brewed coffee for a small weight penalty. We cover the best instant coffee for camping separately.
Who it is for. Ultralight trips, alpine starts, and as a backup in every pack.
6. Cowboy Coffee (No Gear at All)
How it works. Grounds go straight into the pot, steep, and settle. No filter, no plunger, no basket. Done carelessly it is the worst coffee at camp; done deliberately it is a good immersion brew — a French press with gravity doing the filtering. The recipe is about 1:15 with a coarse grind, say 30g of coffee to 450ml of water.
Packability. You are already carrying the pot. That is the whole gear list.
Step 1: Measure the water and the coffee
Fill the pot with the water you want to drink and set out a coarse grind at roughly 1:15. Fine grounds will not settle, and you will drink them.
Step 2: Bring the water to a full boil
A rolling boil over fire or stove. If you are treating backcountry water, this is where that happens — the CDC calls for one minute at a rolling boil, or three minutes above 6,500 feet.
Step 3: Take the pot off the heat and let it stand
At low elevation, wait 30–60 seconds. This step separates good cowboy coffee from the stuff that gave it a bad name. At high camps, skip it — your boil is already cooler than the target window.
Step 4: Stir in the grounds
Dump the coffee in, stir once, and lid the pot. Do not return it to the heat; you are steeping now, not boiling.
Step 5: Steep about four minutes
Four minutes at moderate elevation, five or six above 8,000 feet to make up for cooler water.
Step 6: Settle the grounds
Let the pot sit undisturbed another two to three minutes so the bed drops. Sprinkling cold water across the surface is a traditional trick — in our experience it helps a little, patience helps more.
Step 7: Pour slowly and stop early
Tilt gently, pour in one steady motion, and stop before the last inch. That is where the sludge lives.
Who it is for. Minimalists, campfire cooks, and anyone whose brewer just cracked or got left in the driveway.
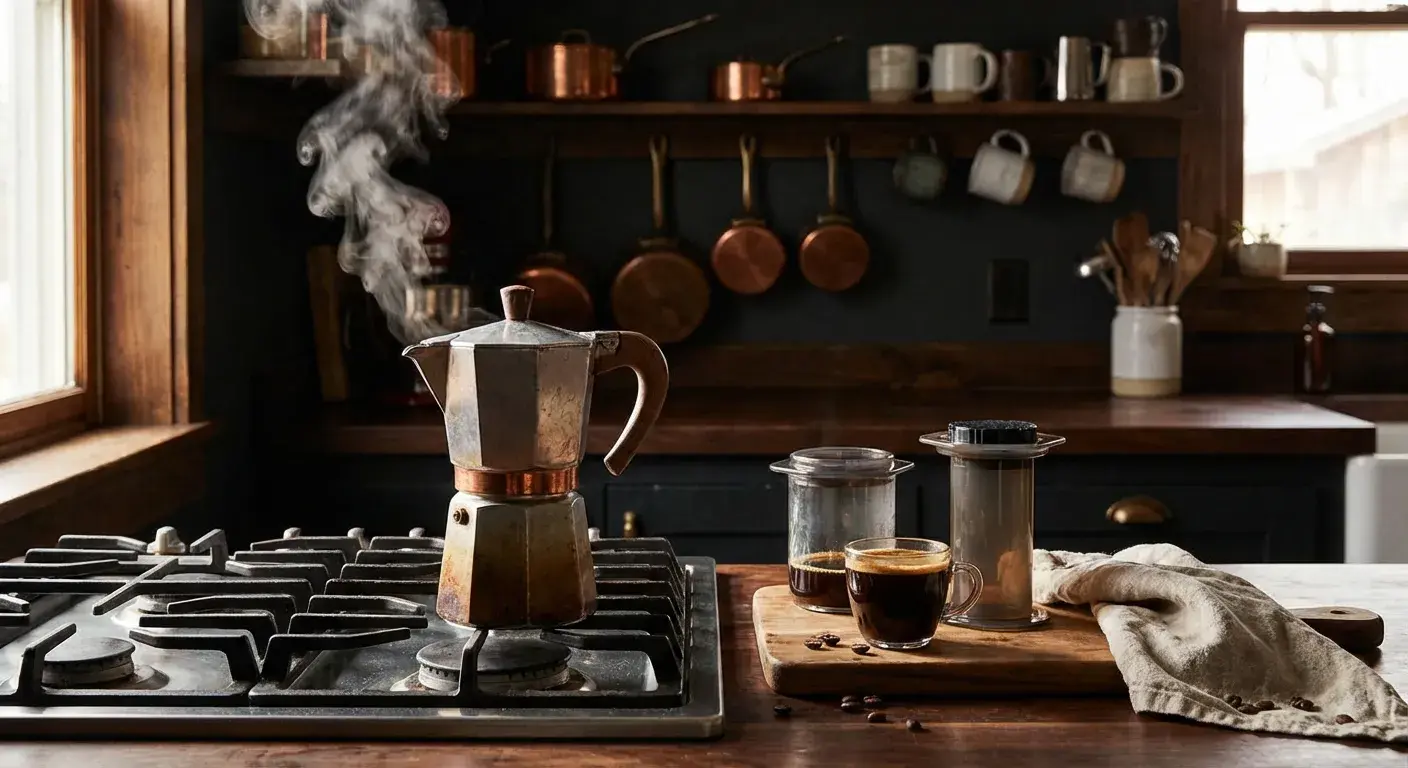
7. Moka Pot Over a Camp Stove
How it works. Steam pressure pushes water from the lower chamber up through a puck of coffee. The result is small, thick, and intense — not true espresso, but the closest thing outdoors without a pressure lever.
Packability. Heavy, rigid, awkwardly shaped. Aluminum is lighter, stainless is tougher. Either way, car-camping gear.
The recipe. Fill the basket level with a medium-fine grind — no tamping — and fill the lower chamber to just below the safety valve. Starting with hot water in the base reduces the metallic edge. Brew over low, small flame and pull it off the heat the moment the stream turns pale and sputters. Our moka pot method covers the details.
The camp-specific problem is heat distribution. Most backpacking stoves fire a narrow jet under the center of the base, scorching the middle of the puck while the edges lag. A broad burner or a simmer ring makes a real difference.
Who it is for. Car campers who drink cortados and Americanos at home and do not want to switch to filter coffee for a week.
Water Safety and Leave No Trace
Treat your water. If you are drawing from a stream or lake, treat it before it goes anywhere near coffee — taste tells you nothing about whether water is safe. According to the Minnesota Department of Health, boiling for one minute is effective, and filters with an absolute pore size of 1 micron or less (NSF Standard 53 or 58) have high effectiveness at removing Giardia and Cryptosporidium, while chlorine and iodine have low effectiveness against Giardia and are not effective against Cryptosporidium. One altitude caveat that matters at the mountain camps described above: according to the CDC, bring water to a rolling boil for one minute — but above 6,500 feet, boil for three minutes. Follow the guidance for the area you are visiting.
Pack out your grounds. They are food waste, not fertilizer. According to Leave No Trace, you should "pack out all trash, leftover food, and litter," and when washing up, "strain dirty dishwater with a fine mesh strainer before scattering it broadly" well away from camp — then "pack out the contents of the strainer along with any uneaten leftovers." A zip bag or screw-top jar handles a whole weekend, and filter methods make it easy: an AeroPress puck and a folded pour-over filter go straight into the trash bag.
Troubleshooting Camp Coffee
Bitter, ashy, or harsh. Water too hot, or the brew sat on the grounds too long. Let the pot stand off the boil, and decant immersion brews the second they finish.
Sour, thin, or hollow. Under-extracted — common at altitude, where boiling water is not that hot. Grind finer, steep longer, or both. Adding more coffee just makes a stronger version of the same flawed brew.
Gritty or silty. Grind too fine for the method, or you poured out the last inch of the pot. Go coarser, stop pouring early.
Cold by the second sip. Pre-warm the mug, use an insulated one, and decant a group pot into a thermos.
Weak no matter what. Measure your ratio instead of eyeballing scoops. Camp scoops are generous and inconsistent.
Camping Coffee FAQ
Can you make coffee while camping without a stove?
Yes, two ways. Cold brew needs no heat — combine coarse grounds and cold water in a sealed bottle before you leave, let it sit 12 to 18 hours, and strain it at camp. And a campfire boils water fine in any metal pot, which unlocks cowboy coffee, percolator, French press, and instant. What you lose without a stove is temperature control, so plan around immersion methods.
What is the best camping coffee method for backpacking?
The AeroPress, for most people: compact, nearly unbreakable, cleans up in fifteen seconds, minimal sediment. If every gram counts, drip bags or specialty instant beat it on weight.
Should I grind coffee before I leave or bring a grinder?
Grind before you leave for almost every trip. Pre-ground coffee sealed in an airtight container for a weekend is a small quality loss next to the weight and bulk of a hand grinder.
How hot should the water be for camp coffee at altitude?
As hot as you can get it — which will be less than you think. Colorado State University Extension puts the boiling point at 198°F at 7,500 feet and 193°F at 10,000 feet, while the Specialty Coffee Association's certified home brewer requirements call for brew water between 92°C and 96°C (roughly 197.6–204.8°F). Above about 8,000 feet you are below that window no matter what, so brew straight off the boil and add contact time instead.
What do I do with used coffee grounds at camp?
Pack them out. Leave No Trace treats spent grounds as leftover food, and the guidance is to pack out leftover food and the contents of your dishwater strainer rather than burying, burning, or scattering them. A zip bag or screw-top jar handles a whole trip.
Pick One and Practice It at Home
The best camping coffee method is the one you have already made twenty times in your kitchen. Camp is a bad place to learn a technique — you are cold, wind is stealing your heat, and you are rationing fuel. Pick from the table above, run the recipe at home until it is automatic, then take it outside.
Whatever you choose, the two fixes that matter more than gear: let the water stand off the boil at low elevation, and get the grounds out of the coffee as soon as it is done. That is most of the gap between camp coffee people tolerate and camp coffee people look forward to.
For the full picture — gear, packing lists, hotel and road-trip brewing, and keeping beans fresh on a long trip — read Sweeter Grind's complete camping and travel coffee guide.