How to Store Coffee Beans for Freshness (The 2–5 Week Window)
Affiliate disclosure: Sweeter Grind is a participant in the Amazon Services LLC Associates Program. We may earn commissions on qualifying purchases at no extra cost to you.
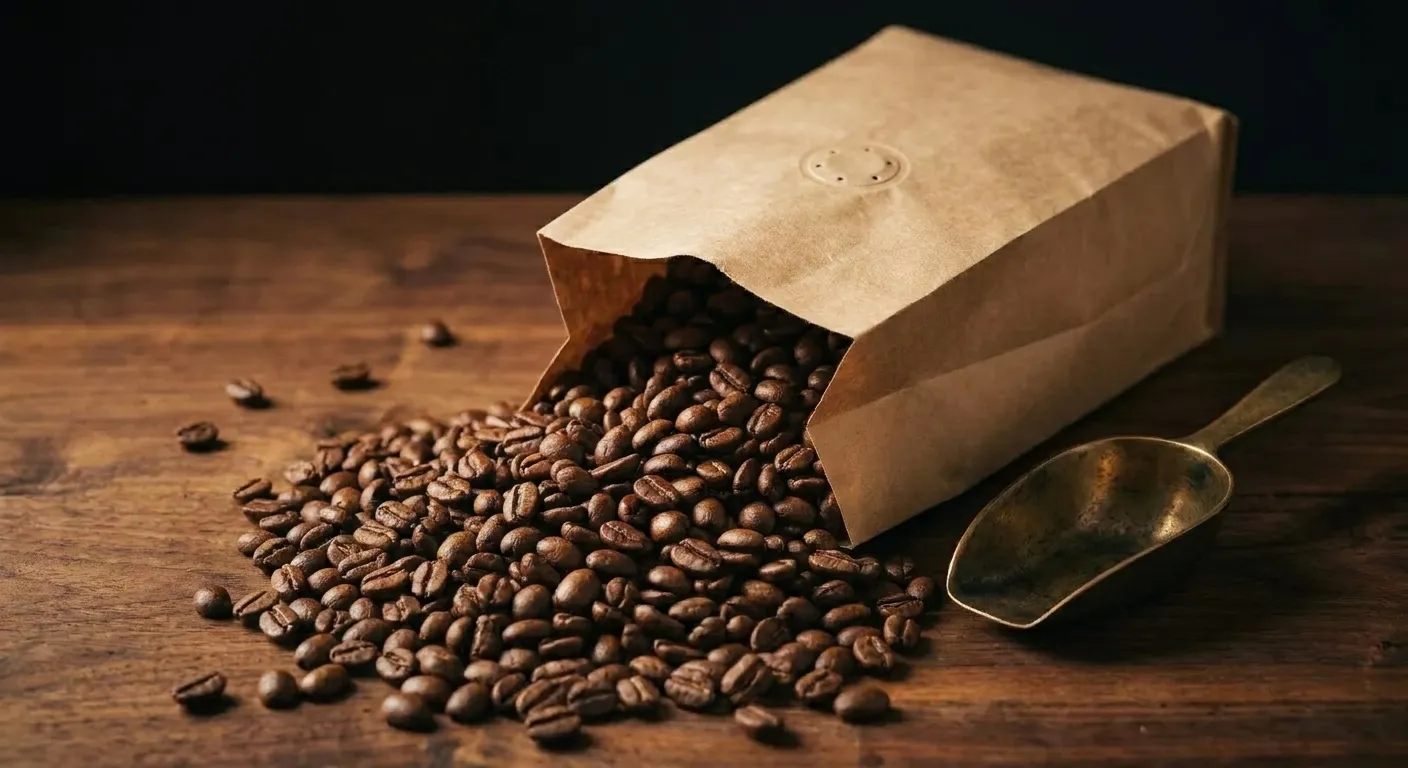
You spent $22 on a specialty bag of Ethiopian Yirgacheffe. The roast date was three days ago. The bag is beautiful, the tasting notes are poetic, you ground the first brew and it was one of the best cups of coffee you have ever made.
Three weeks later the same bag tastes flat. What happened?
Coffee is not shelf-stable the way flour or sugar is. Once roasted, beans begin releasing CO2, oxidizing, and losing their volatile aromatic compounds within minutes. How you store the bag determines how much of that flavor you keep. Most people do at least one thing wrong — often several — and the flavor cost is enormous.
Below: the freshness timeline, the four enemies of coffee, the correct storage protocol, the freezer question (yes, it can work — no, not the way you think), and the one-week rule that saves the most flavor. For the broader picture of beans and roasts, see our pillar: The Ultimate Guide to Coffee Beans and Roasts.
The Coffee Freshness Timeline
Freshly roasted coffee has a predictable lifecycle. Here is what is happening inside the bag, week by week.
Days 0–3: Off-Gassing Period
Roasted coffee produces CO2 during roasting — a byproduct of the chemical reactions that develop flavor. The CO2 stays dissolved in the bean's matrix and slowly releases over time. In the first 3 days post-roast, CO2 release is aggressive.
Flavor impact: Coffee brewed in this window often tastes slightly uneven, gassy, or lacks clarity. The CO2 can actively repel water during brewing, producing uneven extraction. Most specialty roasters recommend waiting at least 4 days after roast before brewing.
Days 4–14: Peak Freshness
CO2 degassing continues but at a manageable rate. Aromatic compounds are still fully intact. This is the zone — coffee brewed in this window tastes at its best.
Flavor impact: Maximum aromatic intensity, full flavor clarity, proper bloom response during pour over brewing.
Days 15–28: Still Excellent
Slight aromatic decline begins. Most home drinkers will not notice any difference from peak, especially if storage is good.
Flavor impact: Cup still tastes great. For darker roasts, this window often tastes ideal (darker roasts benefit from slightly longer rest).
Days 29–45: Noticeable Decline
Aromatic intensity drops. The cup starts to taste a bit flatter. Bitter compounds become more prominent as the sweeter aromatics fade.
Flavor impact: Still drinkable, still better than grocery store. But the exciting notes on the bag are harder to find in the cup.
Days 45+: Obvious Staleness
Oils on dark-roasted beans start to oxidize and go rancid. Aromatic compounds fade significantly. The cup becomes increasingly one-dimensional and bitter.
Flavor impact: The bag is past its useful life for specialty brewing. Still fine for milk drinks where the flavor decline is masked, but poor for black coffee.
The timeline compresses once the coffee is ground. Ground coffee stales roughly 5–10x faster than whole bean. A bag ground on day 5 and stored loose is stale within 24–48 hours.
The Four Enemies of Coffee
Four environmental factors accelerate staling. Controlling them is the whole game.
1. Oxygen
Oxygen oxidizes coffee's aromatic oils and compounds, producing rancid, flat, cardboard-like flavors. The rate is slow but inexorable. Every time you open the bag or canister, fresh oxygen replaces the slightly CO2-rich atmosphere inside. Minimize air exposure.
2. Moisture
Coffee beans are hygroscopic — they absorb moisture from the air. Moisture dulls flavor, accelerates oxidation, and in extreme cases encourages mold. Never store coffee near the sink, dishwasher, or fridge.
3. Heat
Higher temperatures accelerate chemical reactions, including the ones that stale coffee. Store coffee at room temperature in a cool cupboard — not on top of the fridge (which runs warm), not near the stove, not in a sunny window.
4. Light
UV light degrades the lipids and aromatic compounds on the surface of beans. This is why clear glass jars on a counter are a bad idea. Store coffee in opaque containers or in a closed, dark cupboard.
Summary: airtight, opaque, room temperature, dark cupboard, undisturbed. That is the target state.
The Correct Storage Protocol
Here is the exact protocol that maximizes freshness.
Step 1: Buy the Right Amount
The most important storage decision happens before the bag comes home. Buy only what you will drink in 2–3 weeks.
- One-person household: 12 oz (340g) bag lasts ~2.5 weeks at a cup a day
- Two-person household: 12 oz bag lasts ~1.5 weeks at a cup per person per day
- High-volume household: 16 oz or 2 x 12 oz bags per purchase
Buying a 2-pound bag to save $2 does not save anything when the last pound is stale.
Step 2: Keep Beans Whole
Do not grind in advance. Grind immediately before brewing, every time. This is the single biggest flavor lever you have. The difference between ground-right-now and ground-this-morning is audible in the cup.
If you do not yet have a grinder, a basic hand grinder starts at $25 and even a budget electric burr grinder transforms your coffee. See our coffee grinders under $50 guide for specific options.
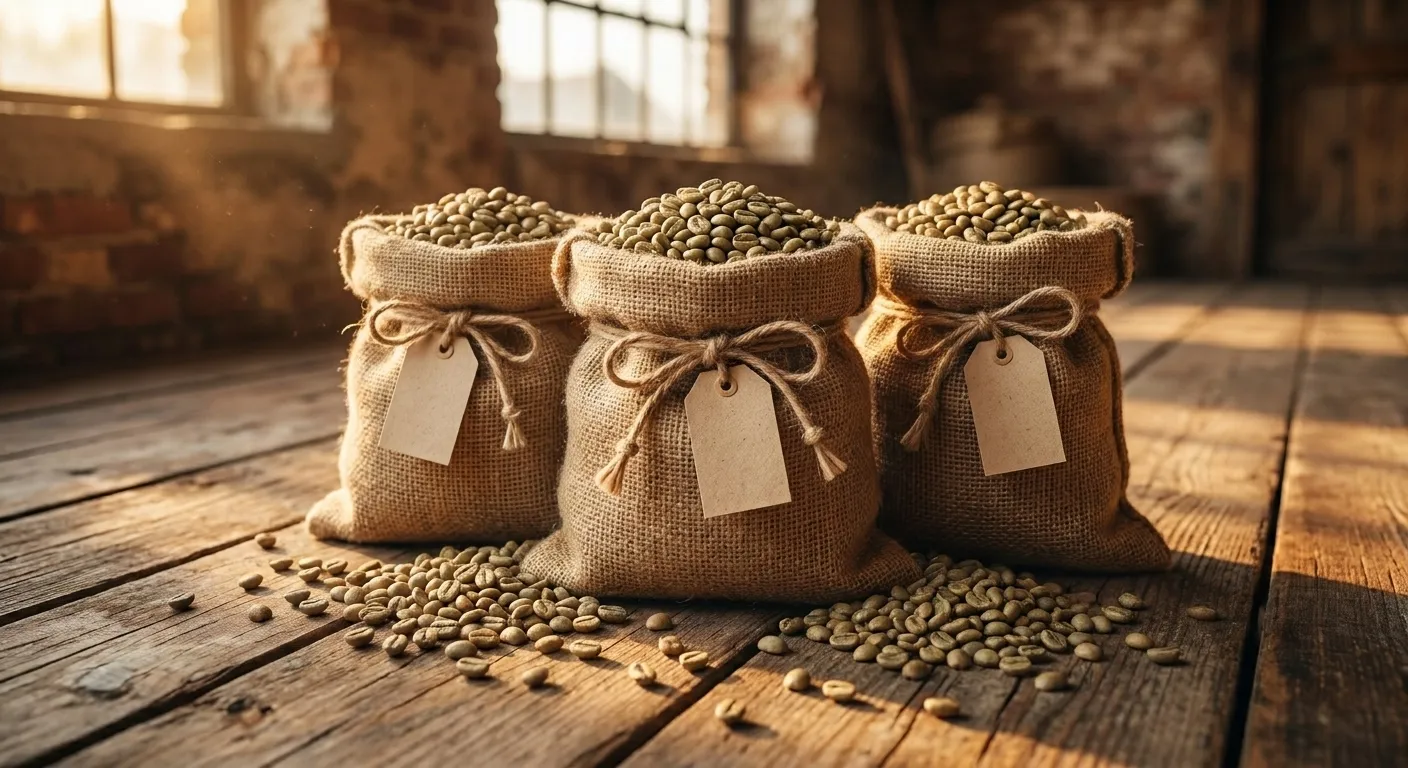
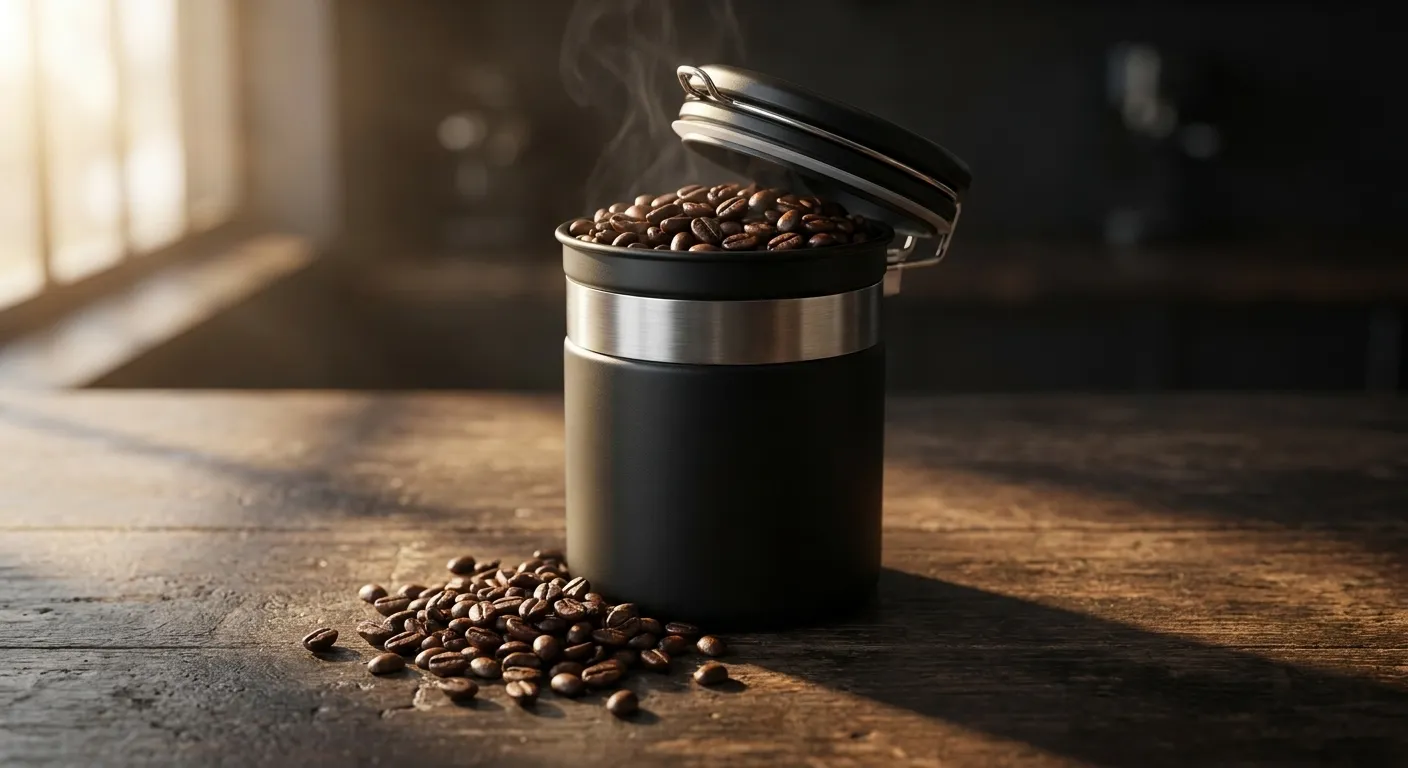
Step 3: Use the Original Bag or an Airtight Canister
Specialty coffee bags have a one-way valve (the small plastic disc on the front or side of the bag) that allows CO2 to escape without letting oxygen in. These bags are purpose-built for coffee storage. If the bag has a good resealable closure (zip or fold-and-clip), the bag itself is fine storage — you do not need a separate canister.
If you want to transfer beans to a canister, look for one that is:
- Airtight — silicone-sealed lid, ideally with a vacuum or valve feature
- Opaque — ceramic, stainless steel, or UV-blocking glass
- Right-sized — minimize headspace above the beans; less air in the container is better
- Easy to clean — coffee oils build up over time
Popular specialty canister brands include Airscape, Fellow Atmos, and Planetary Design. An Airscape canister actively pushes air out each time it is closed; a Fellow Atmos has a vacuum button on the lid. Both are excellent. A plain airtight ceramic canister also works well if it seals properly.
What not to use:
- Clear glass jars — light exposure
- Non-airtight containers (Tupperware with loose lids, decorative canisters that look airtight but are not) — constant oxygen exposure
- Plastic bags without one-way valves — oxygen leak in, no CO2 release out
Step 4: Store in a Cool, Dark Cupboard
A pantry or kitchen cupboard away from heat sources is ideal. Room temperature (60–75°F / 15–24°C) is fine. Avoid:
- Near the stove, oven, or toaster
- On top of the fridge (the motor warmth can creep up)
- In a sunny window
- In a humid spot (near dishwashers, sinks)
Step 5: Open Sparingly
Every time you open the container, fresh air replaces the CO2-enriched atmosphere. Minimize opens by:
- Brewing with a measured scoop you keep near the container (no need to open the bag, search, and reseal)
- Not opening the container to "check" or "smell" the coffee (tempting but costly)
- Avoiding the habit of transferring beans to a small daily canister and back — that is double the oxygen exposure
The Freezer Question
The internet is divided on whether to freeze coffee. The truth has nuance.
What Does Not Work: Freezing Your Daily Bag
If you keep beans in the freezer and open the bag every morning to scoop beans for the day, you are doing damage. Each time you remove cold beans into warm air, condensation forms on the bean surface. That moisture accelerates flavor loss dramatically. The thaw-refreeze-thaw cycle ruins beans faster than normal room-temperature storage.
Do not freeze your actively-drinking bag. Full stop.
What Does Work: Long-Term Deep Freezing
For coffee you want to preserve past its normal shelf life, deep freezing can actually work — but only under strict conditions:
- Portion the beans into small, single-use bags — enough for one brew session (e.g., 25g per bag)
- Remove as much air as possible from each bag (vacuum seal is ideal; rolling and pressing out air is okay)
- Freeze at 0°F (-18°C) or colder
- Never thaw and refreeze — use each bag once, directly from the freezer
- Grind immediately — the cold beans actually grind more uniformly than room-temperature ones, which is a side benefit
Research by James Hoffmann and others has shown that properly frozen coffee can maintain peak flavor for months — significantly longer than room-temperature storage. But the logistics of portioning small bags are enough friction that most home drinkers skip this entirely.
Bottom line: Do not freeze casually. Do freeze deliberately if you have a special bag you want to stretch — and do it in pre-portioned, airtight, single-use quantities.
What Does Not Work: The Refrigerator
The fridge is coffee's worst enemy. It is:
- Humid (humidity ruins beans)
- Full of food odors (coffee absorbs odors like a sponge)
- Constantly opened and closed (temperature cycling = condensation)
Never store beans in the fridge. If you have a bag in there, move it to the counter.
The One-Week Rule
Here is the single highest-leverage storage rule: buy a bag every 1–2 weeks, not a bulk order every 6 weeks.
The flavor difference between week-1 and week-5 coffee is dramatic. The price difference between buying 12 oz every 10 days versus 3 lb every 6 weeks is minimal — maybe $2–5 per pound. You are spending a couple of extra dollars a month to drink significantly better coffee every single day. No other single change has a better ROI on flavor.
Subscriptions from specialty roasters are the easiest way to automate this. Set it for 10–14 day intervals depending on consumption, and fresh beans arrive exactly when you need them.
Roast-to-Brew Timeline (Practical Version)
If you want the one-line summary of how to work with any bag:
- Buy a 12 oz bag within 10 days of roast date
- Rest for 3–4 days after roasting if the bag is very fresh (day 1–2 post-roast)
- Brew primarily between days 5 and 28 post-roast
- Finish the bag within 4 weeks of opening
- Reorder to have the next bag ready before the current one runs out
Follow that pattern and every cup you brew will be in the sweet spot.
Storage Mistakes That Wreck Flavor Fast
Quick rundown of the most common storage errors:
- Pre-grinding the whole bag at once — tanks flavor in 24 hours
- Leaving the bag open on the counter, rolled but not sealed — oxygen everywhere
- Clear glass jar on a sunny counter — light damage plus oxygen leak
- Stored above the stove — heat and humidity double damage
- Freezer with repeated open/close cycles — condensation ruins beans
- Fridge — humidity and odor absorption
- Bulk 5-pound bags — weeks of staleness in the second half of the bag
- Decorative canisters with loose lids — marketed as "airtight" but rarely sealed
If you are doing any of these and switch to the correct protocol, your next cup will likely be noticeably better.
Frequently Asked Questions
How long does an unopened bag last at room temperature?
A sealed specialty bag with a one-way valve stays relatively stable for 4–6 weeks post-roast. After that, aromatic decline becomes noticeable even unopened. The valve protects against oxygen ingress but does not preserve aromatic compounds indefinitely.
Can I tell by smell or appearance if beans are stale?
Somewhat. Fresh beans smell intensely of whatever roast and origin they are — chocolate, fruit, floral. Stale beans smell flat, cardboard-like, or generically "coffee-y." Dark-roasted beans that have gone rancid will smell off — faintly sour or like stale cooking oil. Visually, fresh dark-roasted beans have a slight sheen of oil; very stale ones can look dry and dusty. The best test is still taste.
Should I store decaf differently?
Decaf coffee actually goes stale faster than regular, because the decaffeination process opens up the bean's cellular structure. Follow the same protocol but err on the side of smaller bags and faster consumption.
What about storing ground coffee?
Do not. Ground coffee goes stale in hours to days. If you must store ground coffee temporarily, use the same airtight, opaque, cool protocol — but understand it is a losing battle. Get a grinder.
Can I revive stale coffee?
Not meaningfully. The aromatic compounds are gone — you cannot put them back. Darker roasts and espresso hold up better to mild staling than light roasts. Stale coffee in milk drinks is less offensive than stale black coffee. But revival is not really possible; plan to drink beans fresh instead.
Does vacuum sealing help?
Yes, significantly, if done right. A vacuum-sealed canister (like the Fellow Atmos) or pre-portioned vacuum-sealed freezer bags protect beans much better than a loose airtight seal. For most home drinkers, a good airtight canister is enough; vacuum is a nice optimization but not necessary.
The Short Version
Buy small amounts often, keep beans whole, store airtight in a cool dark cupboard, and brew within four weeks of roast. Avoid the fridge. Use the freezer only for pre-portioned long-term storage, never for the daily bag. And above all: do not pre-grind.
Related reading
- The Ultimate Guide to Coffee Beans and Roasts — the pillar guide
- How to Read a Coffee Bag Label — finding the roast date on the bag
- What Is the Coffee Bloom and Why Does It Matter? — the CO2 degassing process in brewing
- Arabica vs Robusta Explained — which species stays fresher longer
- Coffee Grinders Under $50 — the essential companion to fresh beans
- Single Origin vs Blends: Which Is Better? — storage differences between types