Backpacking Coffee: Ultralight Methods That Still Taste Good
 Tommie Chaney·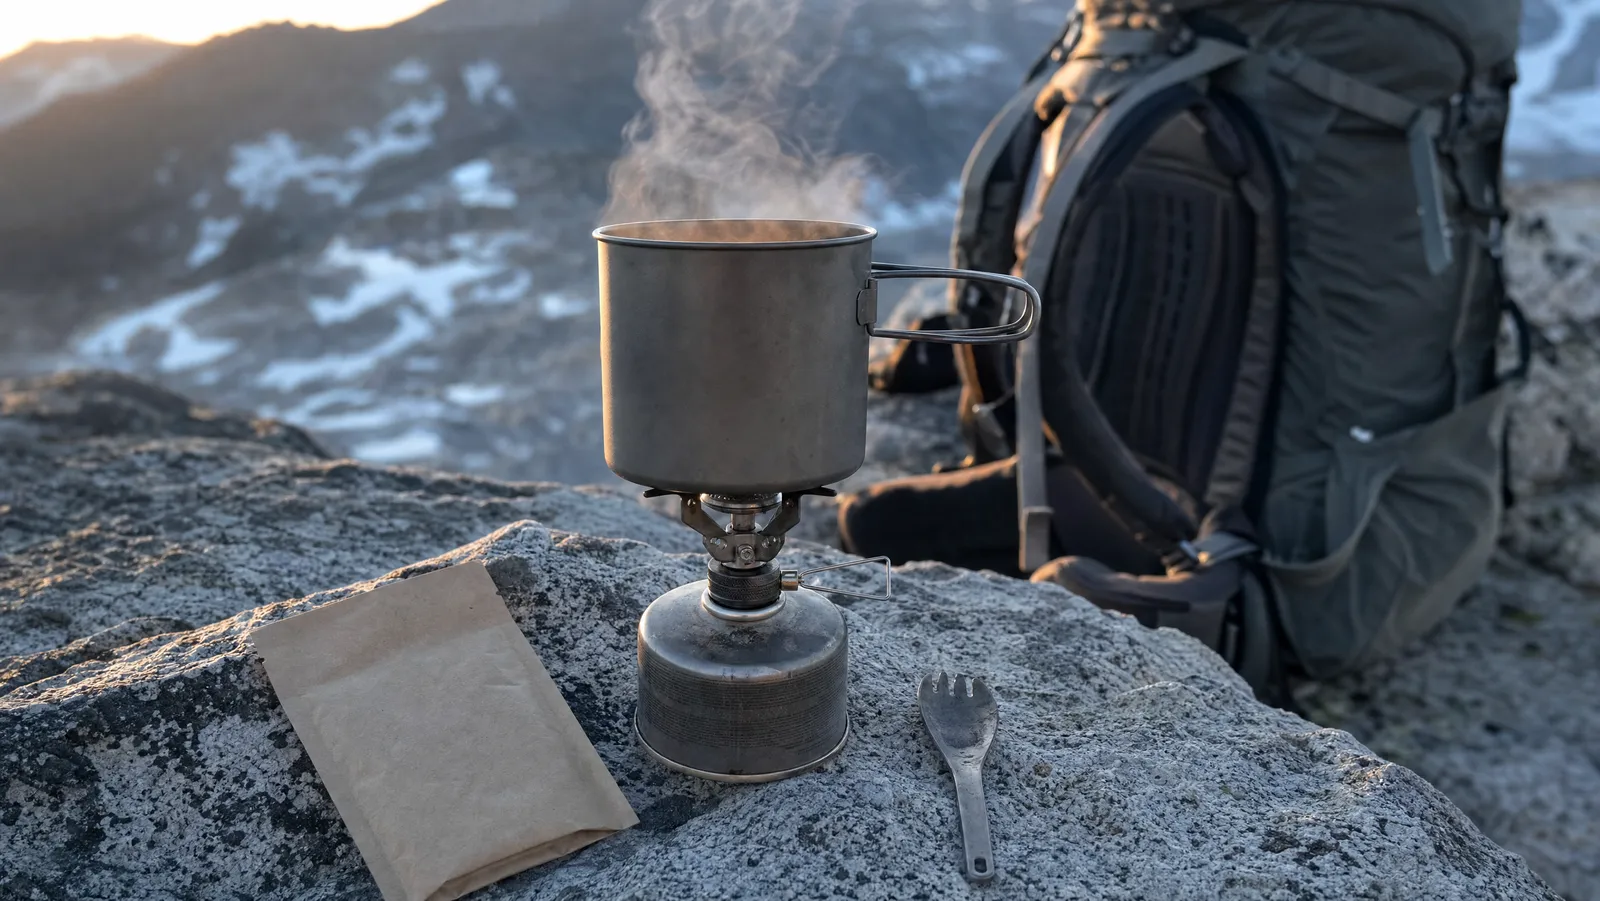
Affiliate disclosure: Sweeter Grind is a participant in the Amazon Services LLC Associates Program. We may earn commissions on qualifying purchases at no extra cost to you.
The lightest genuinely good backpacking coffee is a roughly 3 g instant stick dropped into water you were already heating: no dedicated gear, no cleanup, no grounds to pack out. Everything past that buys flavor at a weight penalty. Our honest cutoff is 4–6 oz of dedicated coffee gear — above that, you are carrying a luxury, and you should know it.
That is not an argument against the luxury. It is an argument for choosing it on purpose. This is the ultralight end of our camping and travel coffee setup coverage, where the currency is grams and fuel rather than flavor points. If you are car camping and weight is irrelevant, read how to make coffee while camping instead — the calculus there is completely different.
The Only Three Numbers That Matter in Backpacking Coffee
Every method below gets judged on three things. Cup quality is the fourth, and it is the one you are spending the other three on.
1. Carried grams. Count the brewer, the filters, and the coffee itself. Do not count your mug or pot — you carry those regardless. A dripper that needs 20 paper filters is not the weight on the spec sheet.
2. Fuel grams. Hot water is not free. Every cup you brew hot burns a measurable slice of a canister, which we cost out below.
3. Minutes. At 6 a.m. in a cold tent vestibule, an eight-minute ritual is a real expense. Some mornings that is the point. On a big-mileage day it is not.
Backpacking Coffee Methods, Lightest First
| Method | Carried weight | Fuel | Time | Cup quality |
|---|---|---|---|---|
| Instant stick | ~3 g per cup | One boil | ~1 min | Decent to good |
| Cold soak in a bottle | 0 g dedicated | None | 8–12 hrs passive | Smooth, low acid |
| Single-serve drip bag | ~14 g per cup | One boil | 3–4 min | Very good |
| GSI Ultralight Java Drip | Under 0.5 oz, no filters | One boil | 3–4 min | Very good |
| Sea to Summit Frontier UL | 55.7 g, no filters | One boil | 3–4 min | Good, heavier body |
| Snow Peak Collapsible Drip | 140 g + filters | One boil | 3–4 min | Very good |
| AeroPress Go | 323 g packed | One boil | 2–3 min | Best on this list |
Instant sticks — the actual ultralight answer
A stick of instant is around 3 g. Grocery listings for Starbucks Via put a standard packet at 0.11 oz (about 3.1 g), and Alpine Start sells its Original Blend in packets listed at the same 0.11 oz. That is the whole system: no brewer, no filters, no grounds, no rinse water.
Alpine Start describes that blend as 100 percent Colombian Arabica, medium roast, and says it dissolves in 8 fl oz of hot or cold water — which turns instant into a no-fuel option too. It lists a box at $9.99 as of September 2026. For brand-by-brand picks, see the best instant coffee for camping.
Verdict: for thru-hiking and any trip where you are rationing fuel, this is the correct answer and everything else is sentiment.
Cold soak — zero grams, zero fuel
Put coarse grounds in the water bottle you already carry, fill it, and leave it overnight. In the morning you have cold brew. Dedicated gear: nothing.
It is the only method here with a fuel cost of zero, which is why it outranks its cup quality. Smooth, low in perceived acidity, and slow — you pay in minutes you spend asleep, the cheapest currency on the list.
Verdict: the best method nobody packs. Its one real cost is the wet grounds you now have to carry out.
Single-serve drip bags — the flavor-per-gram winner
A drip bag is a sealed pouch of grounds with paper wings that hook over your mug rim. Tear, hook, pour, bin. According to REI's listing, Kuju Coffee's Pocket PourOver packets each brew about 8 fl oz (237 ml), at around $2.50 per single serving as of September 2026. Backpacking Light, which weighed one, puts a packet at a net 0.5 oz (14 g) and quotes about $22 per 10-pack for standard roasts.
So a real filtered brew costs about 14 g per cup against 3 g for instant. Over a three-day weekend at two cups a day that is roughly 85 g. Over two weeks it becomes silly.
Verdict: the sweet spot for weekend trips. Best cup-per-gram ratio here, and no cleanup beyond packing out a soggy pouch.
Ultralight cone drippers — buy the cheap one
If you drink more than two cups a day, reusable beats disposable. The ranking is blunt.
- GSI Outdoors Ultralight Java Drip — a nylon mesh filter cone on three legs that clips to nearly any mug (no cup included). GSI describes it as weighing less than half an ounce, and reviewers including CleverHiker weigh it at about 0.3–0.4 oz. The mesh is reusable and washable, so there are no paper filters to pack. GSI lists it at $10.95 as of September 2026, often discounted.
- Sea to Summit Frontier UL Collapsible Pour Over — Sea to Summit lists it at 55.7 g (2.0 oz), packing to 4 x 4 x 1 in, in silicone, 304 stainless and polypropylene, with a stainless mesh filter sized for about 30 g of grounds. Listed at $30.95 as of September 2026, and discounted to about $23 at the time of writing. No paper needed here either, and the rigid frame holds its shape better than a fabric cone.
- Snow Peak Collapsible Coffee Drip — stainless, collapses flat, takes Chemex or V60 papers. Retailer spec sheets list it at 4.9 oz (140 g), and OutdoorGearLab, which reviewed it, calls it 4.8 ounces and heavy for a travel item. Snow Peak lists it at $29.95 as of September 2026.
Notice the spread: the GSI is roughly a tenth the weight of the Snow Peak. The Snow Peak is a beautifully made object that belongs in a car. If you are counting grams, buy the cheap one — the nylon cone makes the same coffee. We compare the folding and silicone options in detail in our guide to collapsible pour-over drippers.
Verdict: the GSI is the only cone we would put in an ultralight pack — it is the lightest here and, like the Sea to Summit, needs no paper. The Sea to Summit costs you roughly 45 g more, and the only thing that buys is a rigid cone that holds its shape and a mesh that is easier to rinse clean.
AeroPress Go — the honest luxury
AeroPress states that the Go, fully packed in its mug with the lid, accessories and 20 paper filters, weighs 11.4 oz (323 g). The Original — chamber, plunger, filter cap, scoop and stirrer — is listed at 7.75 oz.
Both sit well past our 4–6 oz threshold. What the AeroPress buys is the best cup on this list and a forgiving brew that shrugs off bad grind and bad water temperature. That is a real thing to want. It is just not a weight argument. We break the two down in AeroPress Go vs the original.
Verdict: correct for basecamp trips and two-night weekends. Wrong for a resupply-to-resupply thru-hiking kit.
The Ultralight Backpacking Coffee Routine
The field routine for the two lightest methods, instant sticks and cold soak, assuming only the pot and mug you already carry.
Step 1: Pack it at home, portioned
Count your cups, not your days — two per day plus one spare stick works for most people. Put the sticks in one small zip bag with a second empty bag folded inside; that empty bag is your trash and grounds bag later. If you are cold soaking, pre-grind coarse at home and seal it.
Step 2: Ration your water the night before
Coffee water is drinking water. Decide the night before how much of your remaining supply goes to coffee, and treat it the way you treat everything else you drink. In a dry camp this is the whole decision: 500 ml of coffee is 500 ml you are not drinking on the climb out.
Step 3: Heat only what you will drink
Bring 350–500 ml to a boil and no more. Overfilling the pot is the most common way backpackers waste fuel — you pay to heat water you then pour on the ground. Cold soaking? Skip this step entirely. That is the point.
Step 4: Dose consistently
One stick per 8 fl oz (about 240 ml) is the standard instant dose, and Alpine Start specifies exactly that. For cold soak, a coarse grind at roughly 1:8 by weight is a sane trail starting point — dial the numbers properly at home with our brew ratio calculator before you pack.
Step 5: Steep or stir, then wait
Instant needs about 20 seconds of stirring. Cold soak needs 8–12 hours, which means you started last night; shake the bottle before you sleep and again when you wake. Do not shortcut a soak to two hours and then conclude cold brew is weak — that is under-extraction, not the method.
Step 6: Drink it hot, then deal with the waste immediately
Drink while you break camp, not after. Then handle waste before the mug goes away: empty sticks into the trash bag, wet grounds squeezed and bagged, a swirl of rinse water you drink rather than dump. Doing it with the mug still in your hand is the difference between a clean kit and a pack that smells like a cafe bin on day four.
Fuel Math: What a Hot Cup of Backpacking Coffee Actually Costs
MSR lists the PocketRocket 2 at 2.6 oz (73 g), boiling 1 liter of water in 3.5 minutes on MSR IsoPro, with an approximate burn time of 60 minutes per 227 g (8 oz) canister.
Run that arithmetic. A 500 ml boil is roughly 1.75 minutes of burn. At 227 g of fuel per 60 minutes, that is about 7 g of fuel per hot cup. Two cups a day for five days costs you roughly 70 g of fuel, or about a third of a standard 227 g canister — before you have cooked a single dinner.
Two caveats, both real. Manufacturer boil times are measured in near-ideal conditions, and wind, a cold canister, and altitude all push consumption up. And a canister's steel is weight you carry full and carry empty.
The practical consequence: cold soaking on a five-day trip can be the difference between carrying a small canister and a large one. That is a bigger saving than any brewer choice on this page.
Leave No Trace With Coffee Grounds
Coffee grounds are food waste. They are not trailside fertilizer, and the fact that they compost well in a bin at home does not make them acceptable to leave in the backcountry.
The Leave No Trace Center's Principle 3 is explicit about the mechanics: strain dirty dishwater with a fine mesh strainer before scattering it broadly, carry washing water 200 feet from streams and lakes, and pack out the contents of the strainer along with any uneaten leftovers. The National Park Service's summary of the seven principles says the same thing more bluntly — pack it in, pack it out, including leftover food. Outdoor publications including Advnture apply that directly to coffee: pack the grounds out, and do not scatter, bury, or burn them.
In practice:
- Squeeze before bagging. Wet grounds are mostly water. Press them against the mug rim first.
- Double-bag on hot trips. Grounds ferment. One bag inside another costs about a gram.
- Rinse water goes down your throat, not on the ground. A swirl of water in the mug after coffee is drinkable.
This is the strongest environmental argument for instant on trail: there is nothing to carry out but a wrapper.
When to Stop Cutting Weight
Somewhere past the fourth night, coffee stops being a caffeine delivery system and starts being the reason the morning is bearable. That has value, and pretending otherwise is how people end up hating their own ultralight kit.
Carry the extra 3 oz when:
- The trip is short. On a two-night weekend, 323 g of AeroPress Go is a rounding error against your food weight.
- You are basecamping. If the pack sits in one place while you day-hike, brewer weight is nearly free.
- You are the group's morning person. One brewer serving three people amortizes fast.
- Mileage is low and mornings are long. Weight you carry four miles is not weight you carry twenty.
Leave it home when you are moving between resupplies, when your base weight is already tight, or when wind and cold make every minute outside the bag expensive. Those mornings, a stick in a titanium mug — TOAKS lists its 550 ml ultralight pot at 2.6 oz (72 g) with the lid, 2.1 oz without — is not a compromise. It is the correct tool.
The full spectrum, from ultralight through car camping and hotel rooms, lives in the complete camping and travel coffee guide.
Frequently Asked Questions
What is the lightest way to make coffee while backpacking?
An instant coffee stick, at roughly 3 g per cup. Grocery listings put a standard Starbucks Via packet at 0.11 oz (about 3.1 g), and Alpine Start lists its packets at the same 0.11 oz. No brewer, no filter, nothing to pack out but a wrapper. Cold soaking in a bottle you already carry is the only thing that competes, and it wins on fuel because it uses none.
Does instant coffee actually taste good enough for a serious coffee drinker?
Specialty instant is better than it was, and on trail the gap narrows because your baseline is a cold morning rather than a cafe. It still will not match a drip bag or an AeroPress. If you want the best cup available under 20 g, a drip bag wins clearly — you pay roughly 14 g per cup instead of 3 g for that upgrade.
Can you cold brew coffee while backpacking?
Yes, and it is the only zero-fuel method here. Add coarse grounds to your water bottle at night, roughly a 1:8 ratio by weight, and leave it 8–12 hours. Strain through a mesh bag or bandana in the morning. Alpine Start also states its instant dissolves in cold water, which gets you a cold cup with no steeping and no grounds at all.
Should you grind coffee before a backpacking trip or bring a grinder?
Grind at home. A travel hand grinder is several ounces duplicating work you could do in your kitchen. Pre-ground stales faster, but on a trip measured in days that loss is smaller than the weight you save. Seal it and squeeze the air out.
How much fuel does making coffee actually use?
Using MSR's figures for the PocketRocket 2 — 1 liter in 3.5 minutes, about 60 minutes of burn per 227 g IsoPro canister — a 500 ml boil works out to roughly 7 g of fuel, or about 70 g across five days at two cups a day. Wind, cold canisters, and altitude push it above the lab numbers, so budget conservatively.